
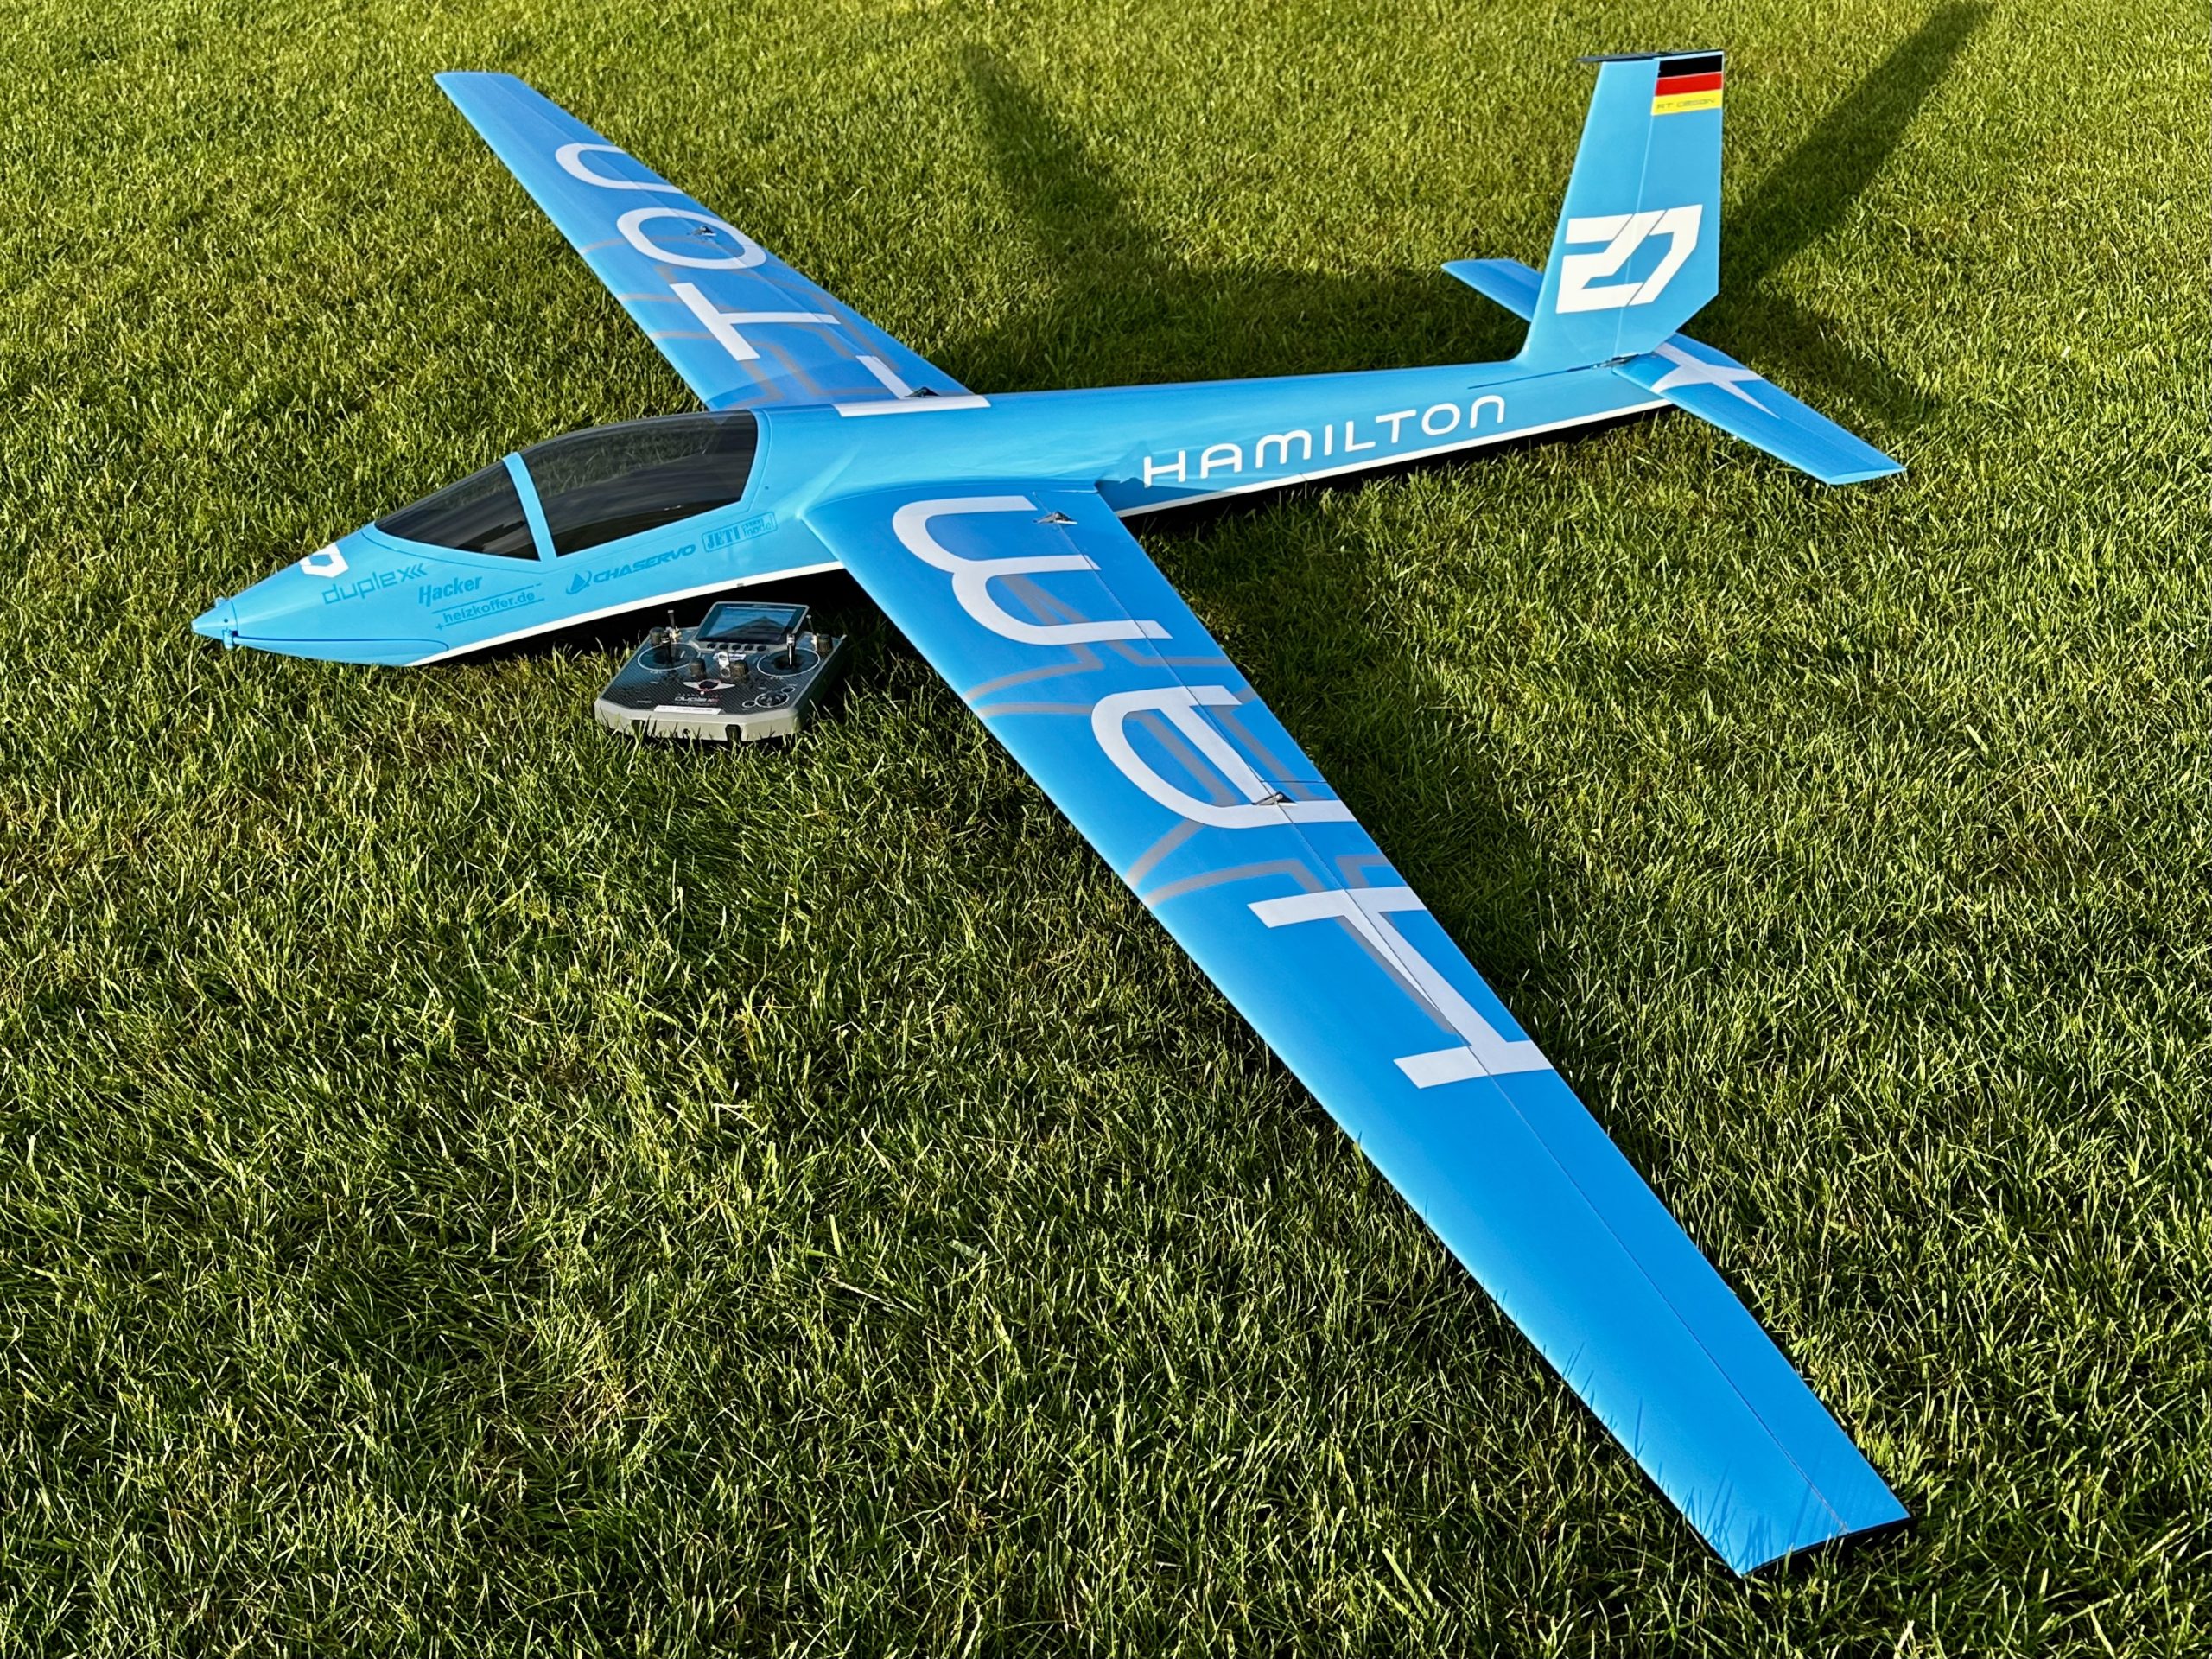
Glider Fair 2024 saturday evening in the Cocktailbar: PS-Models Dominik Lintner, one of the best pilots I know, came to chat about the event, my Bücker, and the gliders by PS-Models. During the day, I’d already been impressed by the planes and the booth with its South Tyrolean specialties, and after a good chat and a few drinks, I ordered the 3m Kobuz in baby blue.
I’ve finally received the glider, assembled it, and flown it a few times. I’m off to the mountains soon for some slope flying, where I hope to do some more testing. First impressions are already very good. The model impresses with its excellent airflow and aerobatic performance, and even in thermals with the wing cambered, the Kobuz performs surprisingly well.
Below are a few words and pictures of the assembly.
The airframe:
The Kobuz is very high quality and has a superb paint job. All accessories are included in the kit, and each construction section is packed in a separate bag. All control horns are factory-glued, and the RC board is made of carbon. It only needs to be glued in place.
As it is usual with models painted in the mold, you’ll need to be careful when clean it with a spirit rag, as the paint rubs off easily and the surface becomes dull relatively quickly. The canopy is already glued at the factory and the frame is painted. For my taste, they could have put a little more effort into it. No expense was spared on the glue, and some dust remained inside the canopy. However, since the interior of the canopy hull is painted a solid black, it’s not so noticeable.
The linkage:
The Kobuz received the proved and very high-quality linkage accessories from heizkoffer.de in combination with all CHA HV-servos. Since the glued-in control horns from PS-Models are slightly wider than standard carbon fiber horns, Thorsten Rauber from heizkoffer.de responded and promptly added perfectly fitting stainless-steel clevises for the PS models to his product range. Thorsten also calculated my linkage geometries for ailerons and flaps based on the glued-in control horns. For those 4 servos he also increased the servo travel using software to achieve the ideal resolution. The original servo covers no longer fit the double servo arm on the servo. A wider hood in the servo cover is required for the double-arm linkage. Heizkoffer.de has also done its homework here and offers its own servo covers, which can be cut to size and thus adapted to many other gliders as well. Painted to match the model’s finish, this is the most elegant and stable solution for this model.
The power unit:
Since I had ordered the spinner and prop from PS-Models painted in model colors, I had to choose a propulsion system based on the propeller size. Uwe Neesen from Hacker Motor took care of this again and tracked down the Hacker C54-2D L for me. I’m familiar with the C54 from my F3A planes and know the forces on the front bulkhead and the motor’s gearbox. Therefore, I also installed the C54’s anodized clamp support on the Kobuz. Simple, fast, and classy!
The ESC is a JETI Mezon 80 EVO with BEC and full telemetry. The integrated BEC outputs 8V to the receiver and servos.
Light system and RC:
Hacker’s ACL-Glider lights are now a must on my glider models because they are perfectly visible even at very high altitudes. They are simply glued to the bottom of the wing, and the cables are fed into the wing through a small hole. For a clean transition between the flashlights and the wing, I always print rings, which are also attached to the underside of the wing with contact adhesive. The lights are powered by a 3S battery, but I simply made an adapter that allows me to tap the voltage same as a 3S battery from my 6S flight battery via the balancer connector.
I use a standard JETI duplex Rex-10 receiver, to which a small JETI capacitor is attached for the return current.
Equipment:
4x CHASERVO HV-150H
2x CHASERVO HV-150
Hacker C54-2D L Glider Competition
JETI Mezon 80 EVO
GM-Prop 16×10
Optotronix ACL-Glider
6S 5000 Hacker ECO-X
JETI duplex REX-10
JETI duplex MVario2
No Comments Yet