

Screenshot
Screenshot
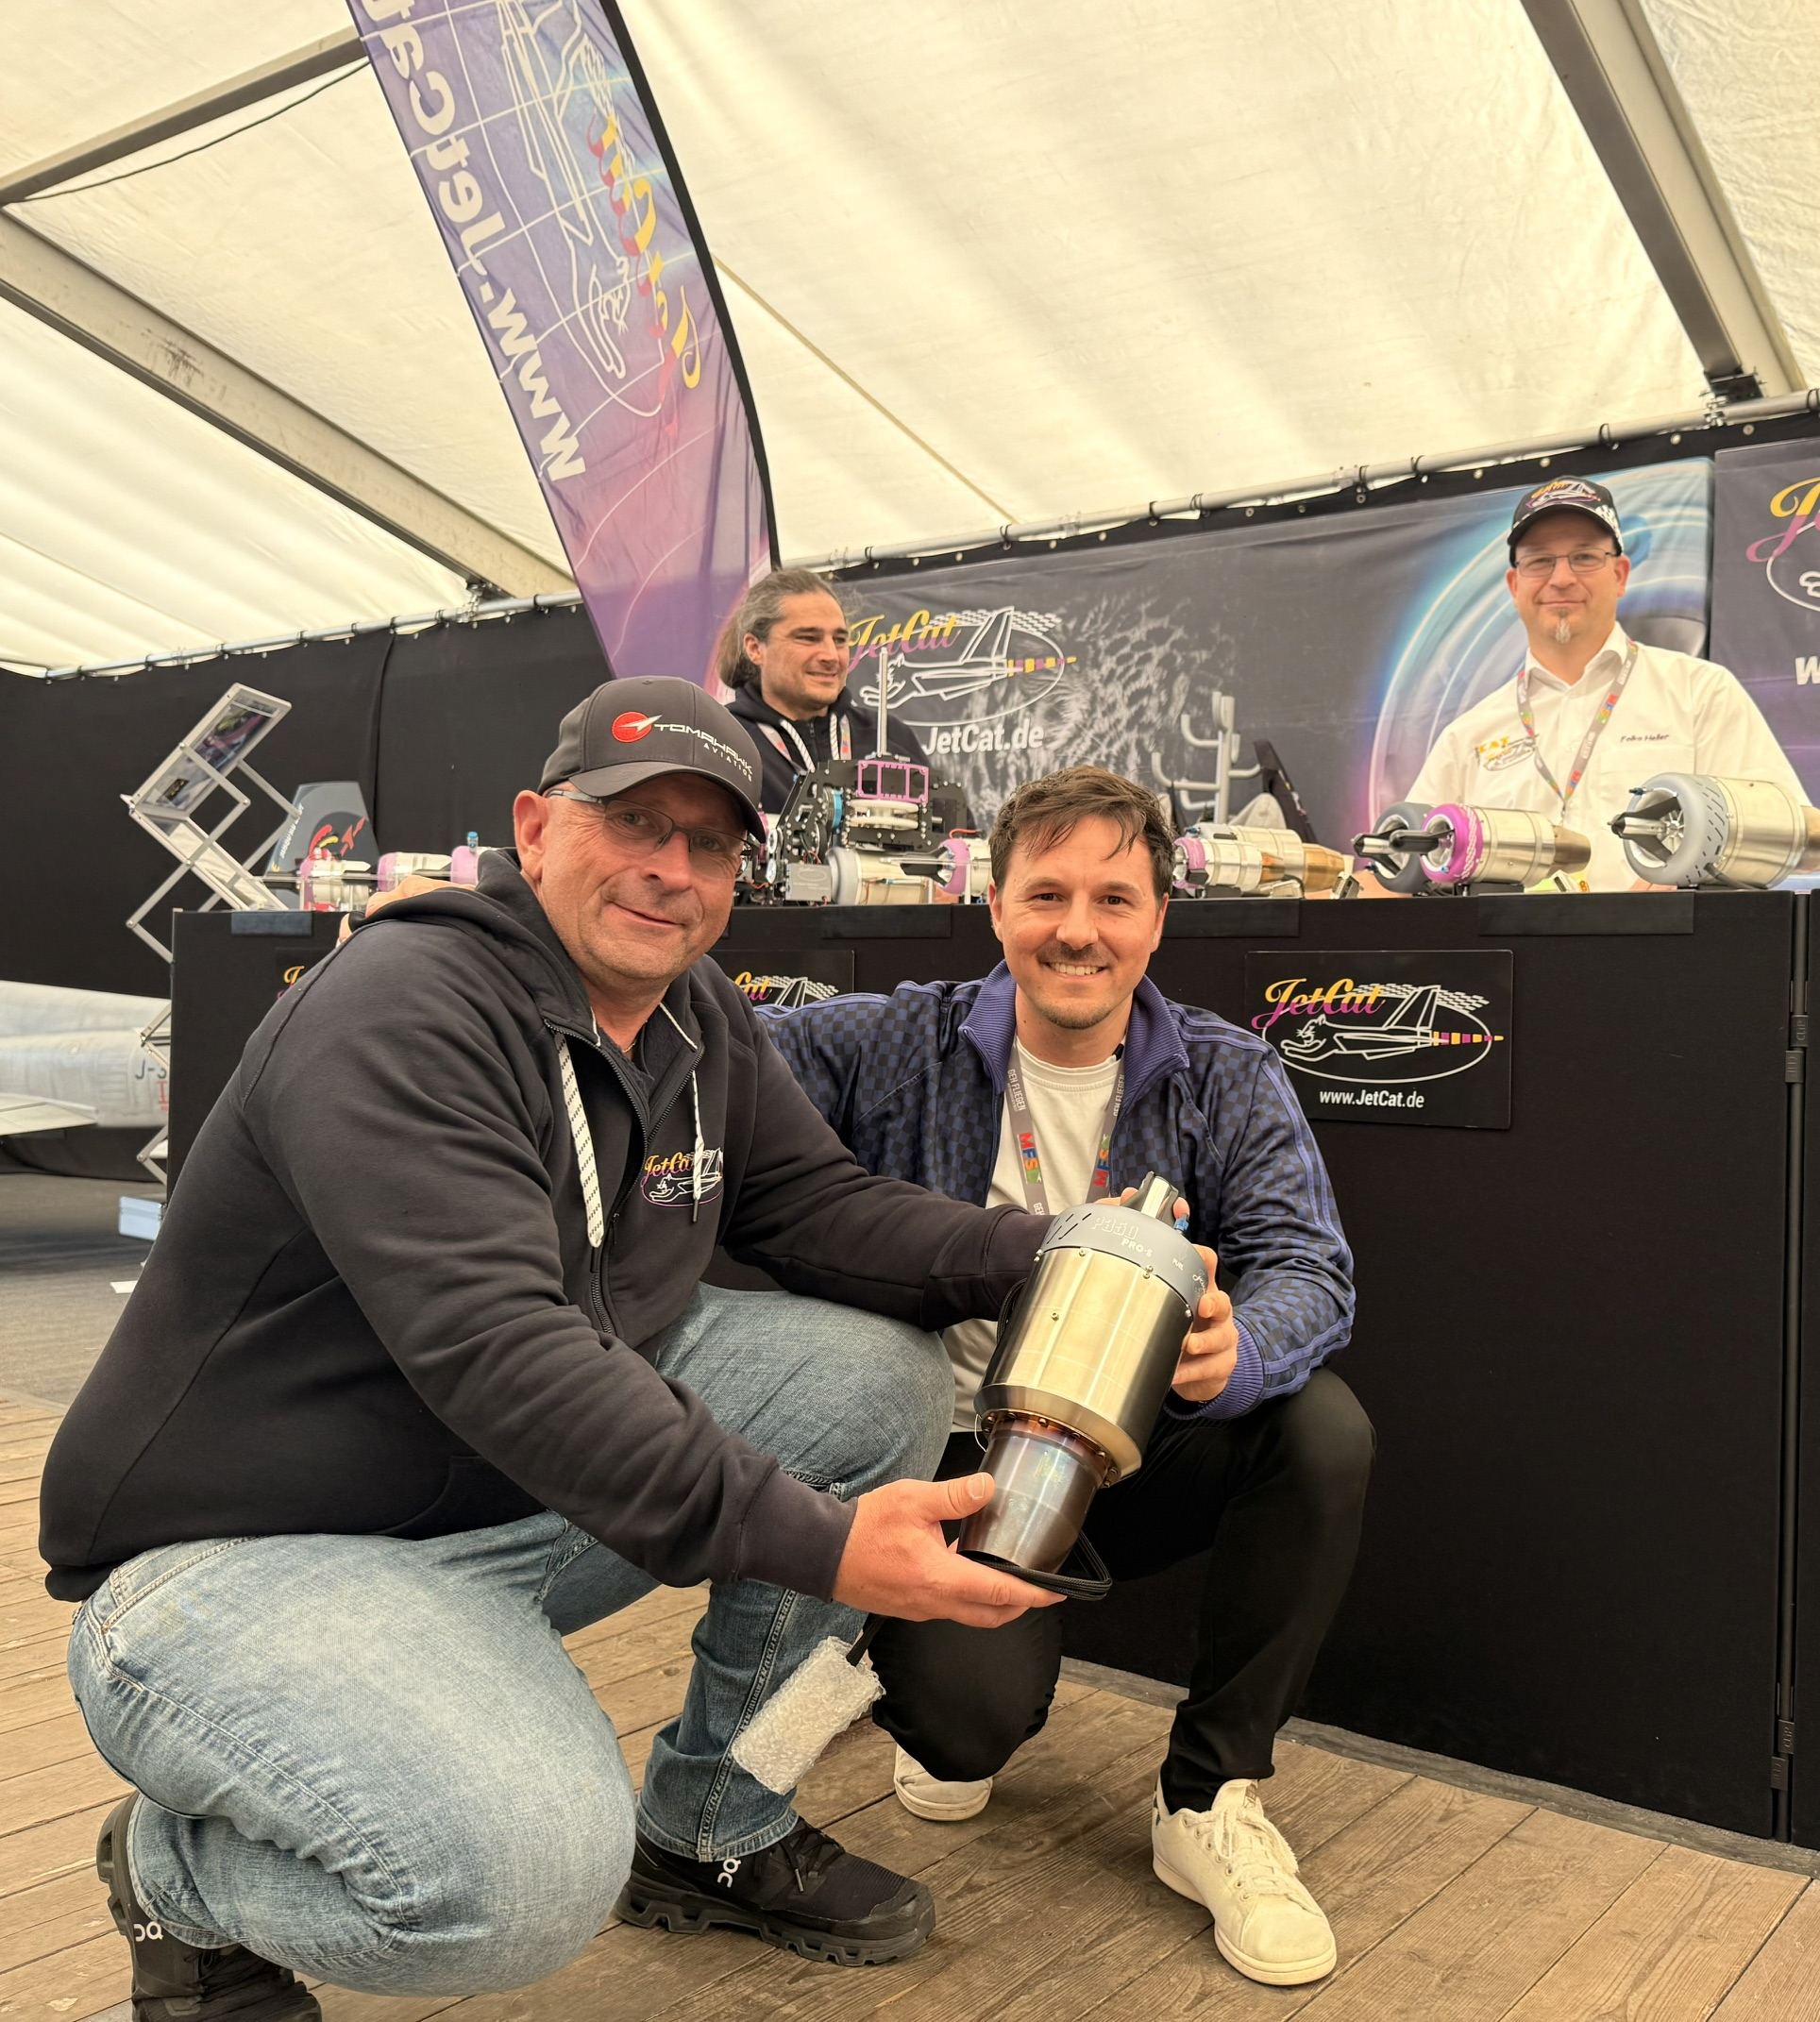
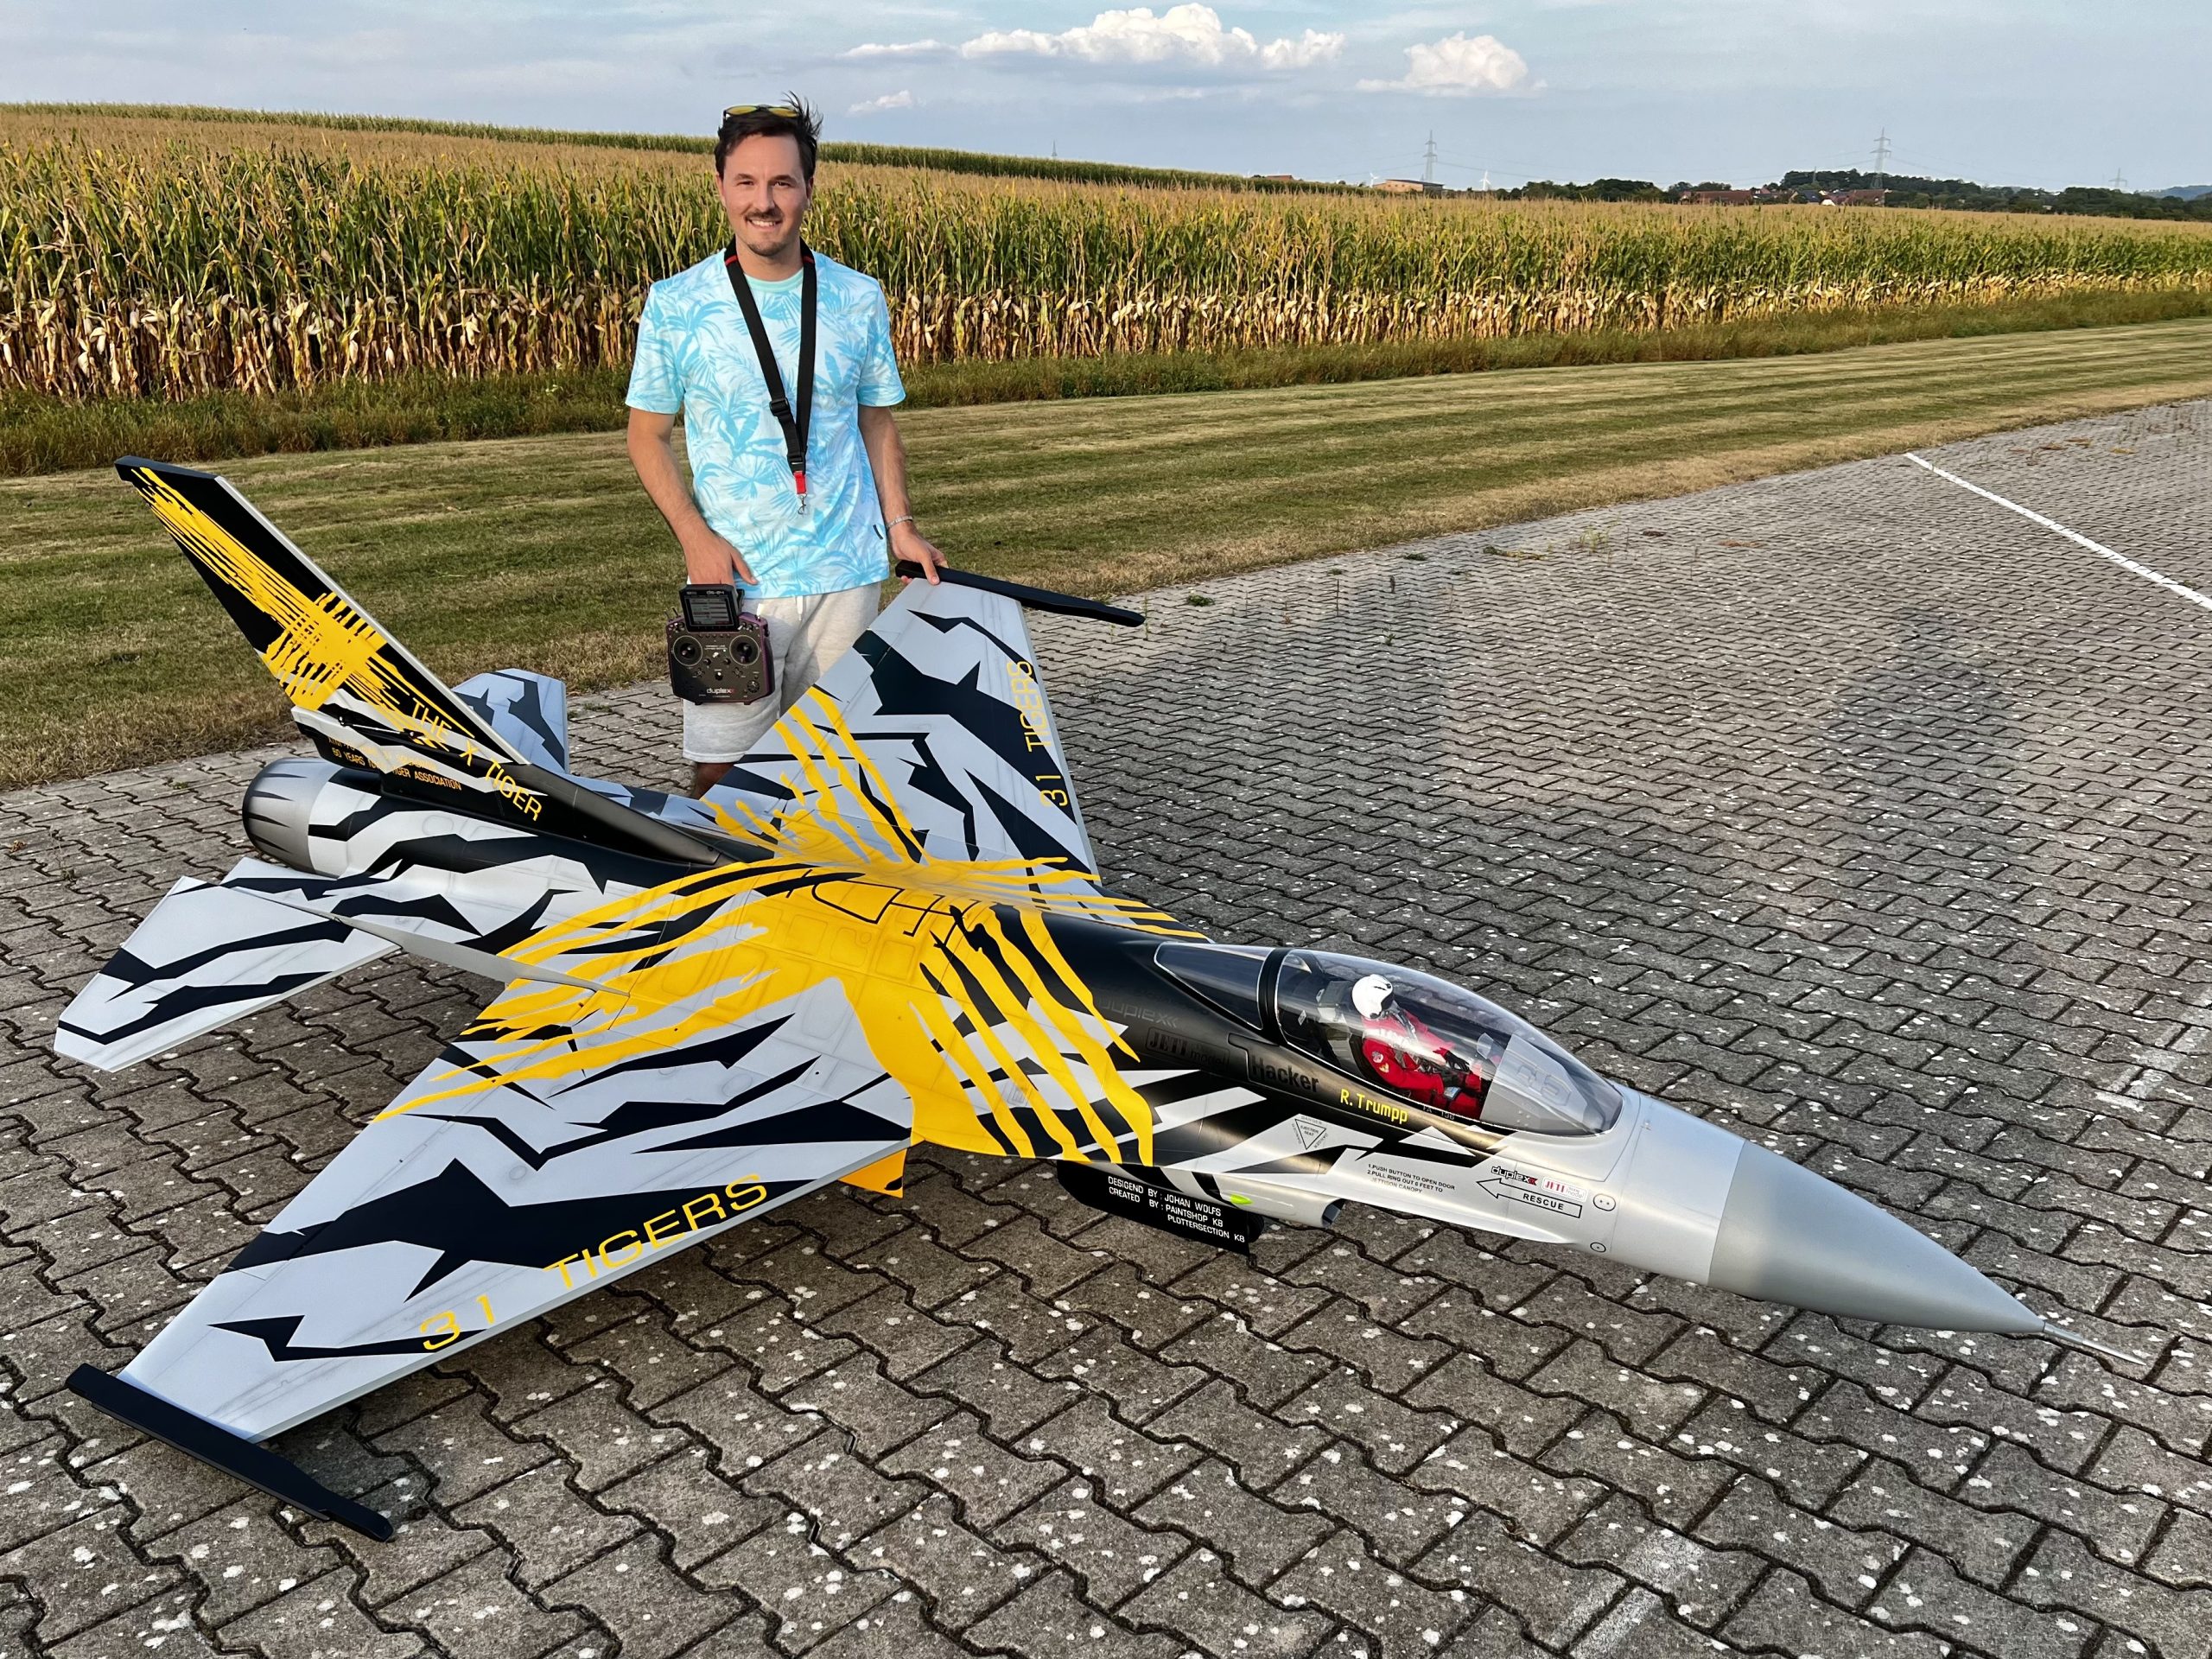
After thoroughly enjoying the Pilot-RC F-16 last year, it quickly became clear that the jet could use a bit more power for my flying style. The Prowing trade show presented the perfect opportunity: I was able to take delivery of the JetCat P350Pro, and Tony from Pilot-RC also brought me custom-fit fuel tanks.
Barely back from the show, I immediately started modifying the F-16.
Since the P350 naturally requires more air than the P250, I proactively designed and printed some “cheater holes” from carbon fiber reinforced plastic. These were neatly glued into both the top of the fuselage and the bottom of the fuselage. Visually, the whole thing blends in perfectly – almost as if it had been planned that way from the start.
With the JetCat P250 and smoke equipment installed (without smoke oil), the takeoff weight was previously 24.7 kg. The Kevlar tanks for kerosene and smoke alone, including hoses, the hopper tank, and the smoke pump, weighed in at around 950g – weight I’ve now largely eliminated. As a result, the new setup with the P350 and bladder tank, without any smoke system, weighs almost the same as before – but offers around 10kg of additional thrust. I’d say: mission accomplished.
The model has now completed four flights. Fortunately, Dennis from HMSV Vaihingen filmed a video at their flying field over the weekend. Feel free to check it out – I’m more than happy with the plane now! 😁
 Together with my buddy Luka, we went to the UAE for a short holiday and to attend the MAAD (Model Aircraft Airshow Dubai).
I brought my JETI duplex DS-24K. This transmitter is a perfect fit for Dubai, and as expected, it certainly polarized there as well 😊
Mustafa from Gonzohobbies and Greg kindly arranged some relaxed flights for me with models from their range: Thanks a lot for that!
A fantastic trip with many exciting encounters and lots of new friendships!
It’s been seven years since I was last at the Dubai airfield; I promise it won’t be another seven years before we meet there again!
Here are a few impressions:
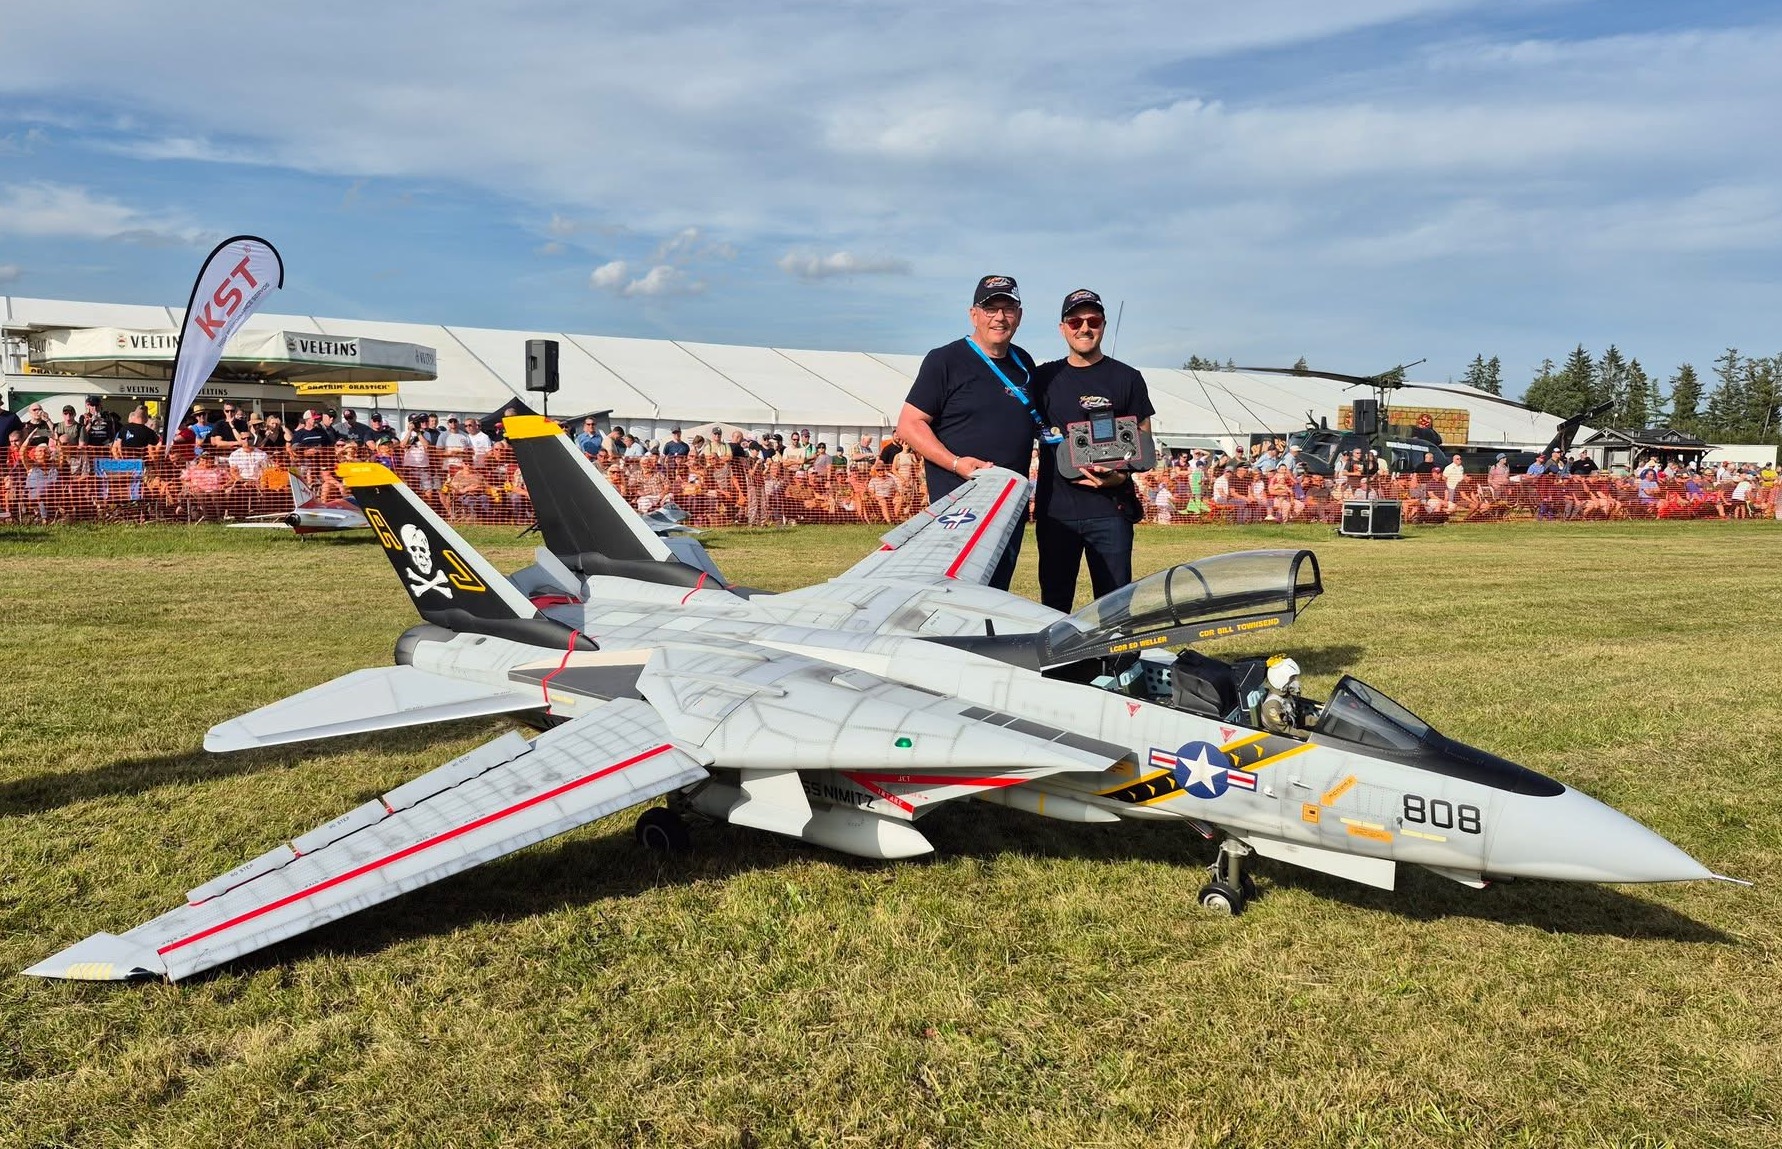
 In May 2025, the two T-28 Trojans had their maiden flights, and now here’s a photo series documenting their construction!
An absolute mammoth project that took much longer than expected but was ultimately worth the effort!
For your information: We built a total of three identical aircraft with all the changes and modifications and only made two of them ready to fly. Number 3 also has all the changes/modifications and has already been sanded and filled. This aircraft is spare and can be painted and installed immediately!
Specifications:
Scale: 1:4,5
Wingspan: 2,75 m
Length: 2,25 m
Weight (incl. fuel): approx. 22 kg
RC-Equipment:
JETI duplex CB 220, 2x Rsat 2,4Ghz, 1x Rsat 900NG
2x Hacker ECO-X 2400mAh 2S
1x Hacker ECO-X 2400 4S
Orig. legs with JP-Hobby mechanics and brakes
Light system with retractable lights based on the real one
3x Hacker/Ditex EL2114S
5x Hacker/Ditex EL3214S
5x Hacker/Ditex EL0510M
Fiala 250ccm³ 5-cylinder with electric fuel injection
FALCON 3-blade CFK-Scale Propeller + Spinner
Tailored Pilots figure 1:5
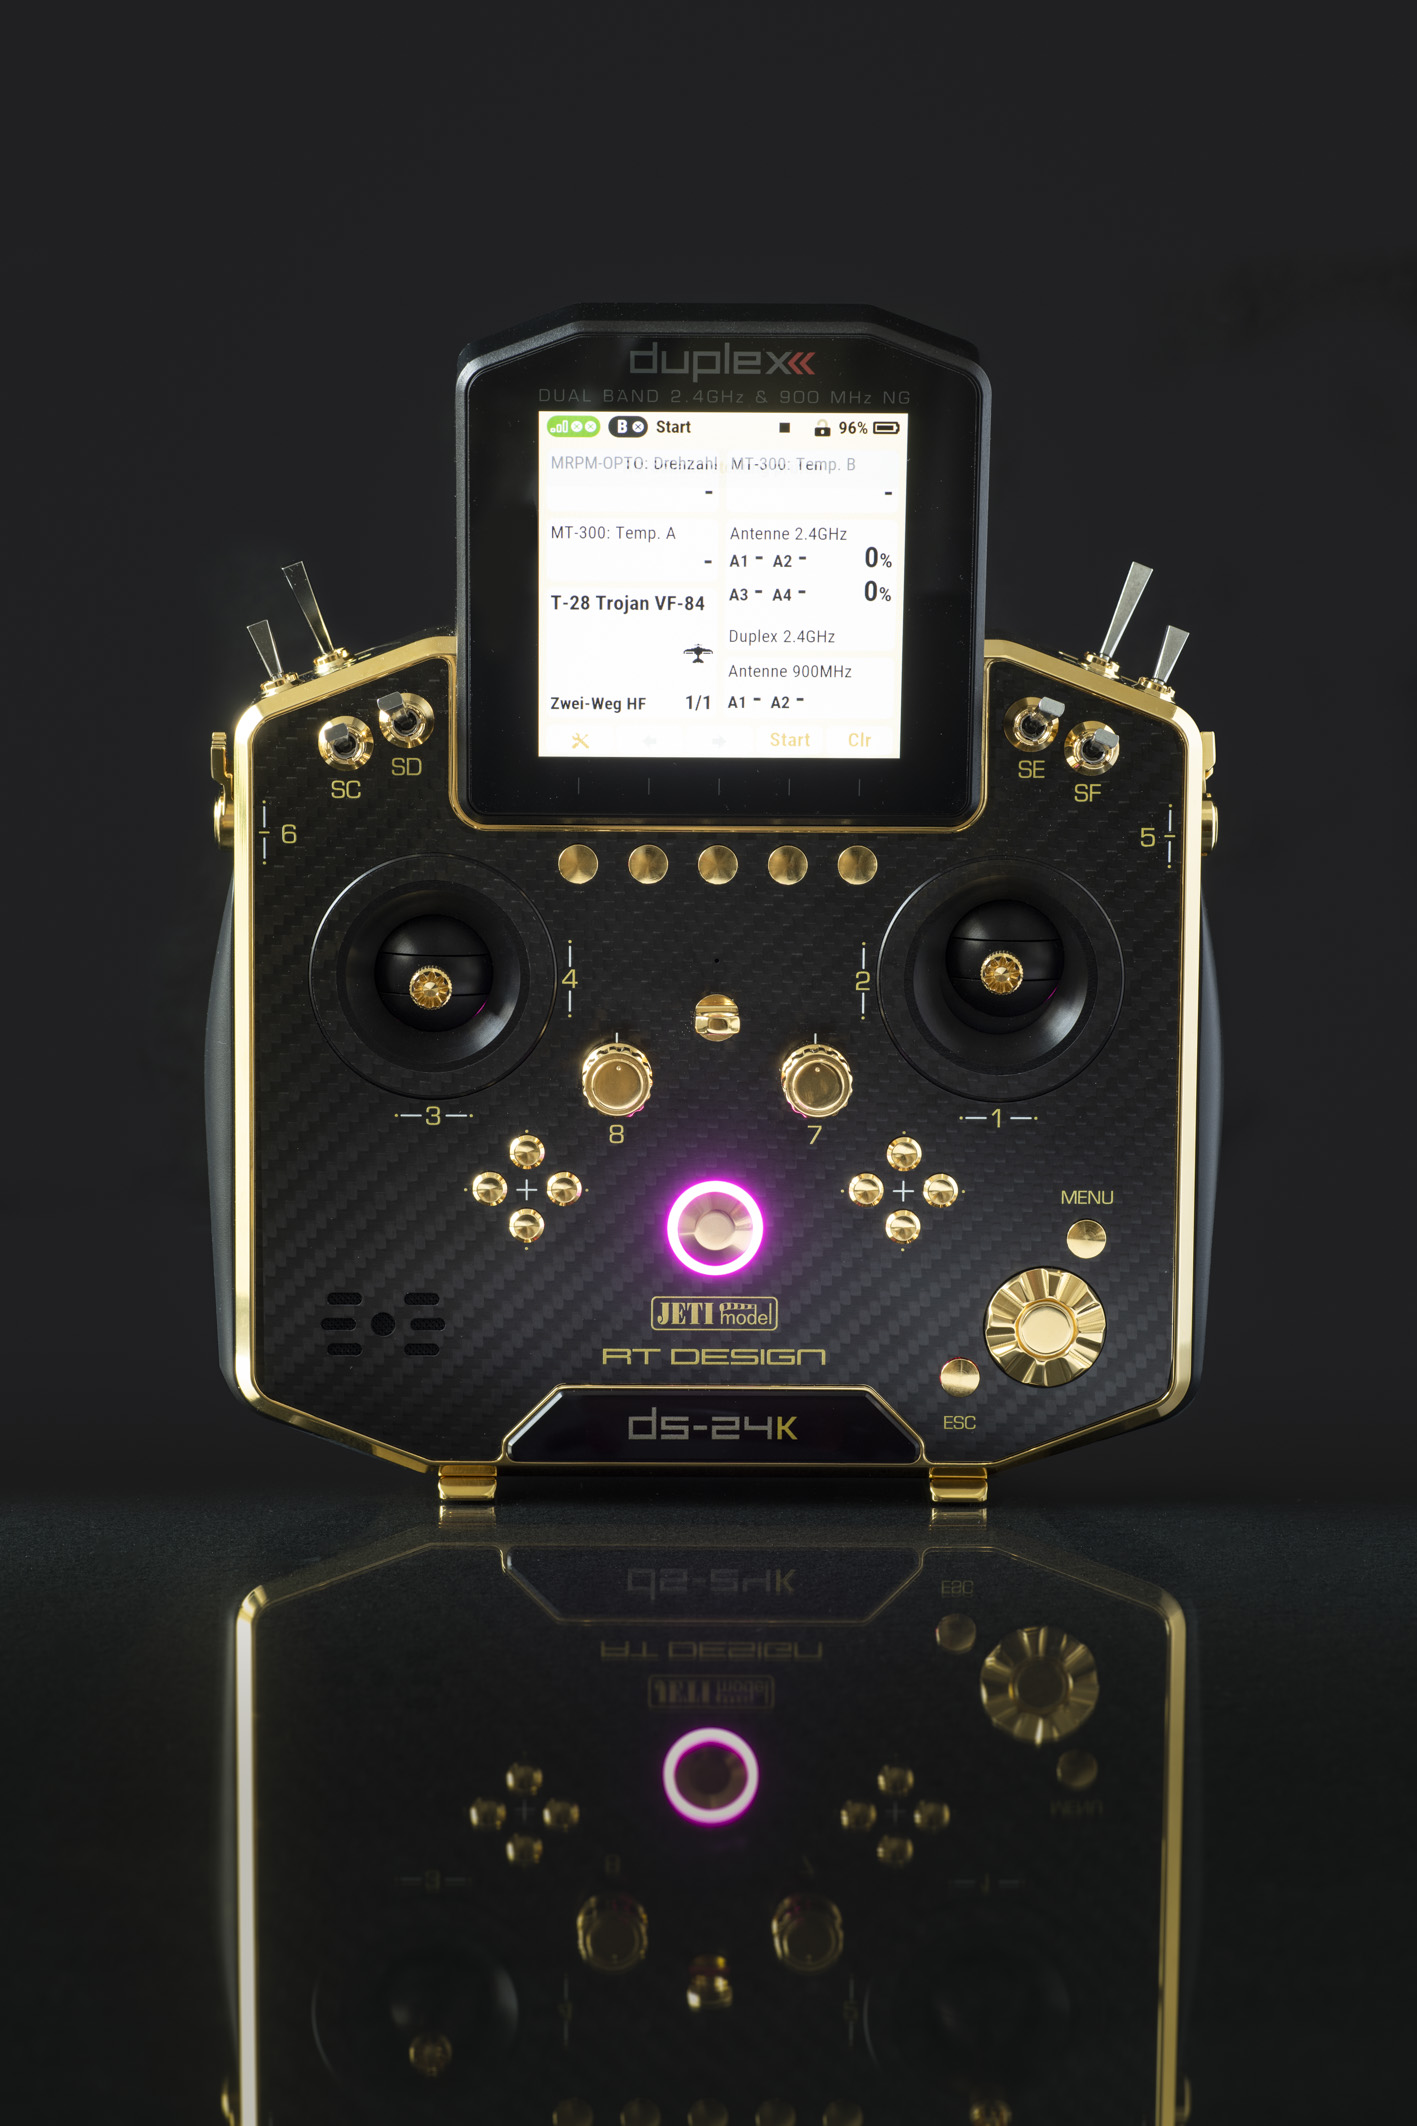
“When classy 24k gold meets modern carbon fiber to end up in worlds most luxury rc-radio ever build – DS-24K”
It was almost exactly a year ago when I had the idea to build another unique JETI transmitter after 2019: at the JetPower, on September 22, 2025, JETImodel handed it over to me personally!
With the help of my former materials science professor Uli, whom I met during my studies, we found the right companies in Germany that could first polish the raw parts to a high gloss and then gold-plate them!
The most important step before gold-plating the CNC-milled aluminum parts is polishing, which I did at METALLDESIGN in Gaildorf. Each of the 42 aluminum parts of a DS-24 transmitter was personally hand-polished by the METALLDESIGN-CEO himself, resulting in a mirror-like surface – simply wow!
Even before gold plating, the aluminum parts had to be electroplated with nickel to ensure that the gold would bond with the aluminum parts and simultaneously form a diffusion barrier. These two tasks were handled by a company that Uli knew from his work as a professor at Aalen University. They are absolute experts in gold plating.
During the gold plating process, I set about designing the transmitter’s carbon fiber front and back panels. It was particularly important to me to allow the front and back of the transmitter to mature without any time pressure. My goal was to keep the transmitter as puristic as possible while still including all the necessary lettering, including the logos. The back was to feature a very special quote derived from Latin:
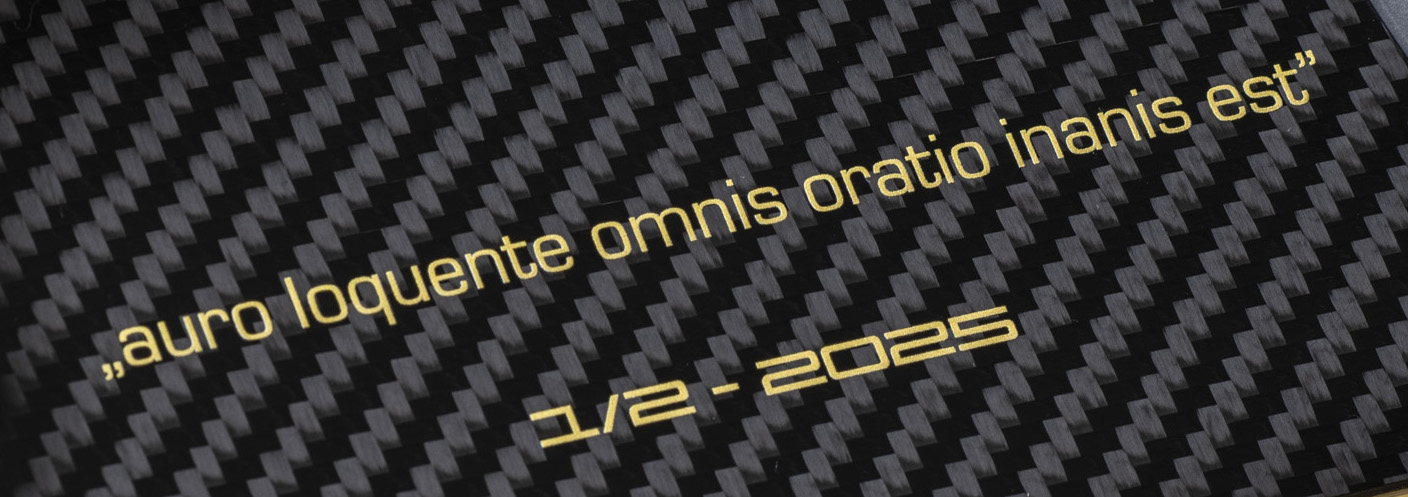
Originally, a carbon fiber plate with integrated gold fibers was planned, but after an initial test, it became clear that the transmitter would have been too cluttered and confusing with this plate and the required lettering. So, we ultimately threw this idea out.
After many different versions of the front and back, the layout was finally found, and I’m absolutely thrilled.
Sorry, JETImodel, that there were countless small detail changes until I was 100% satisfied 😊
I realize this remote control is crazy and doesn’t make for any better flying. Nevertheless, I wanted a special JETI transmitter, in a color this product deserves, especially given my excellent experience with JETI over the past 10 years. The contrast between classic gold and modern carbon fiber is simply elegant and stunning.
There’s interest in such a special transmitter. Therefore, JETImodel is currently checking the possibility of producing a small series in 2026.
The photo gallery shows the journey from the raw parts to the finished DS-24K
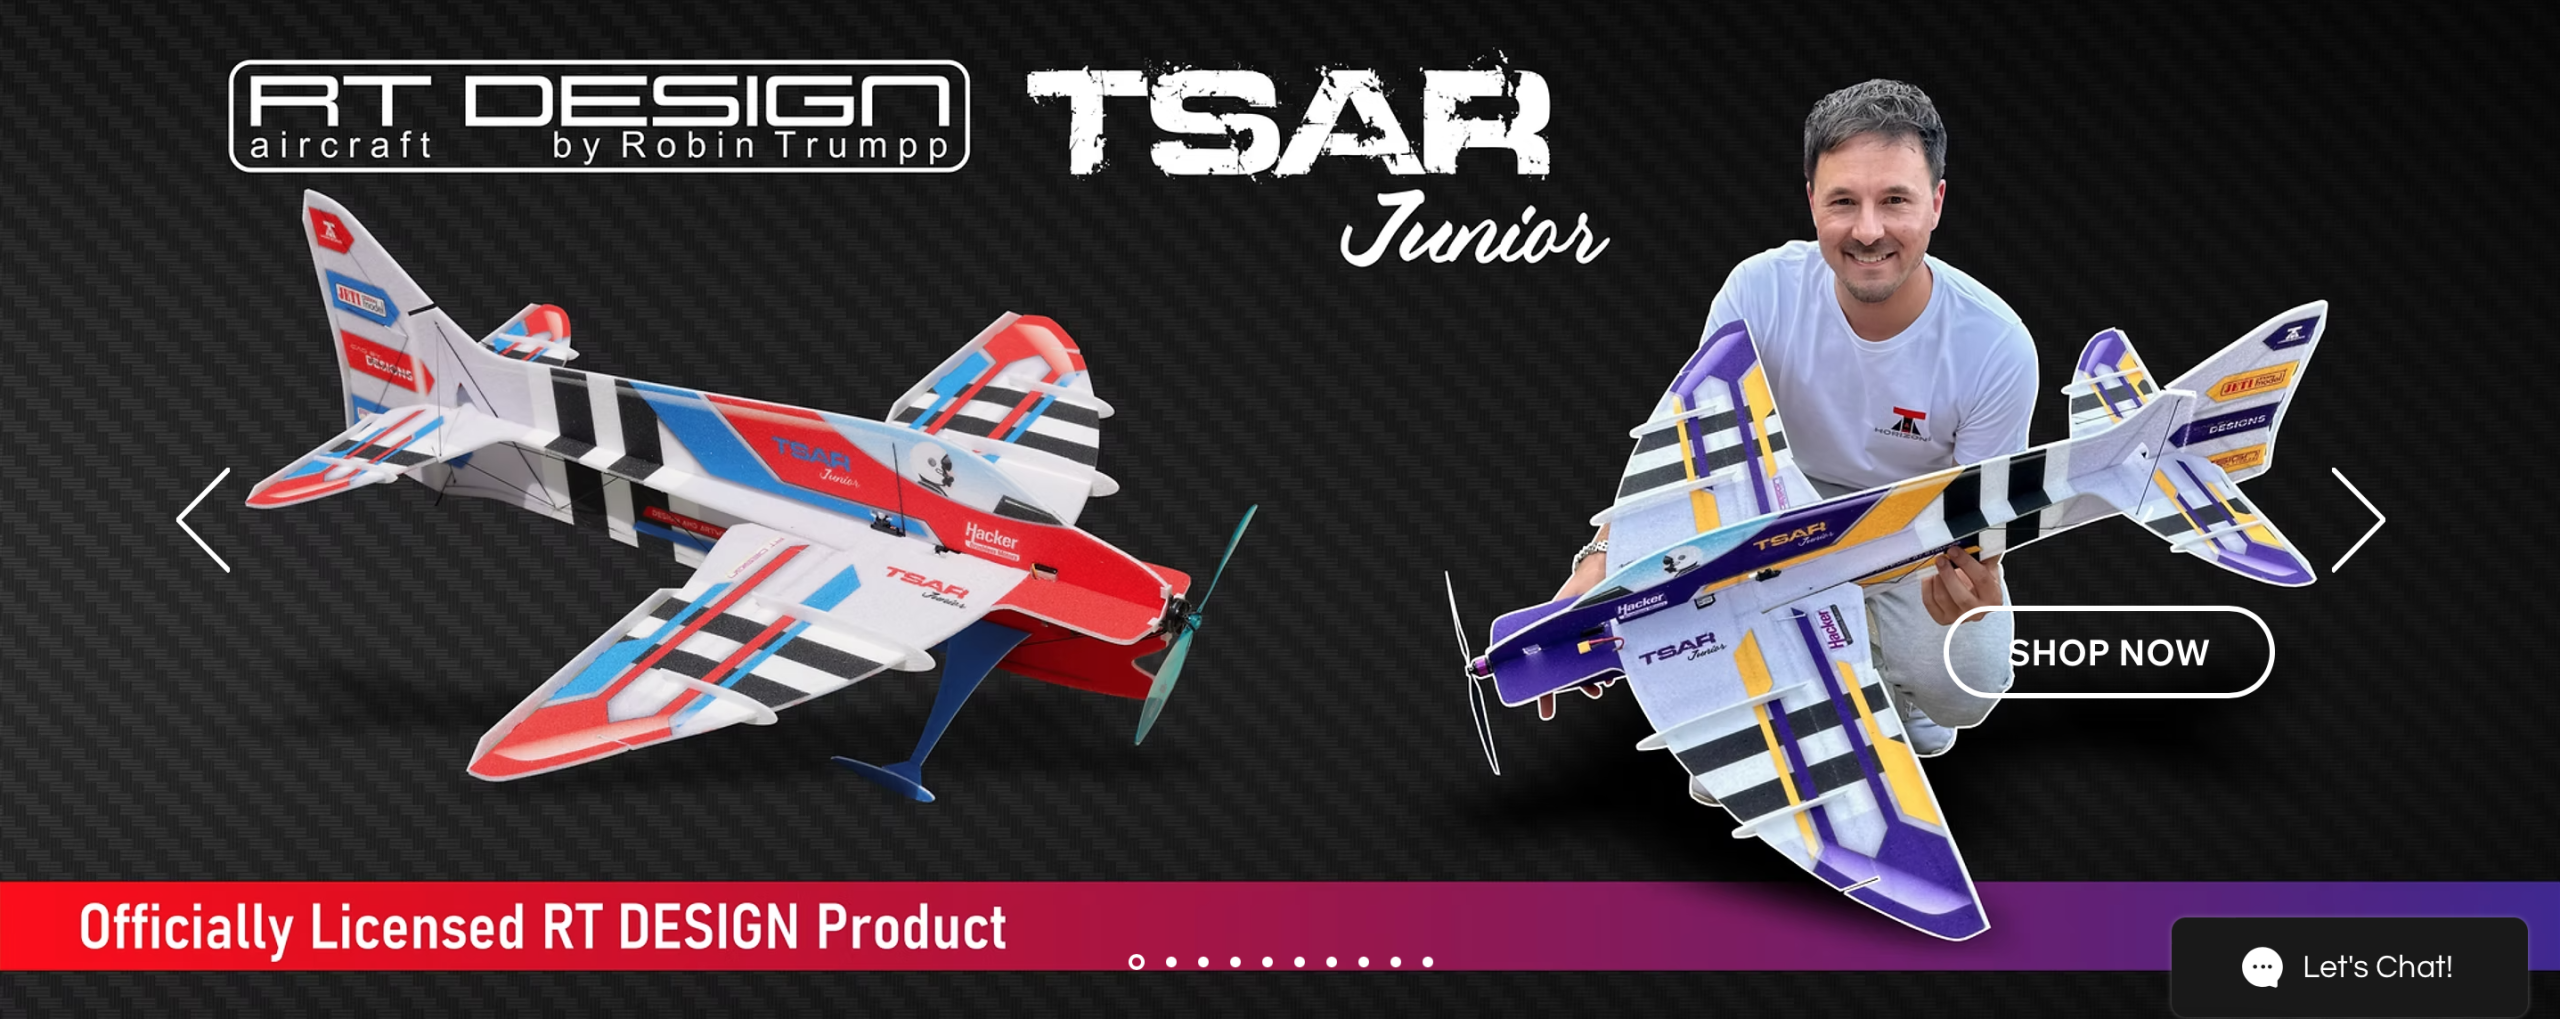
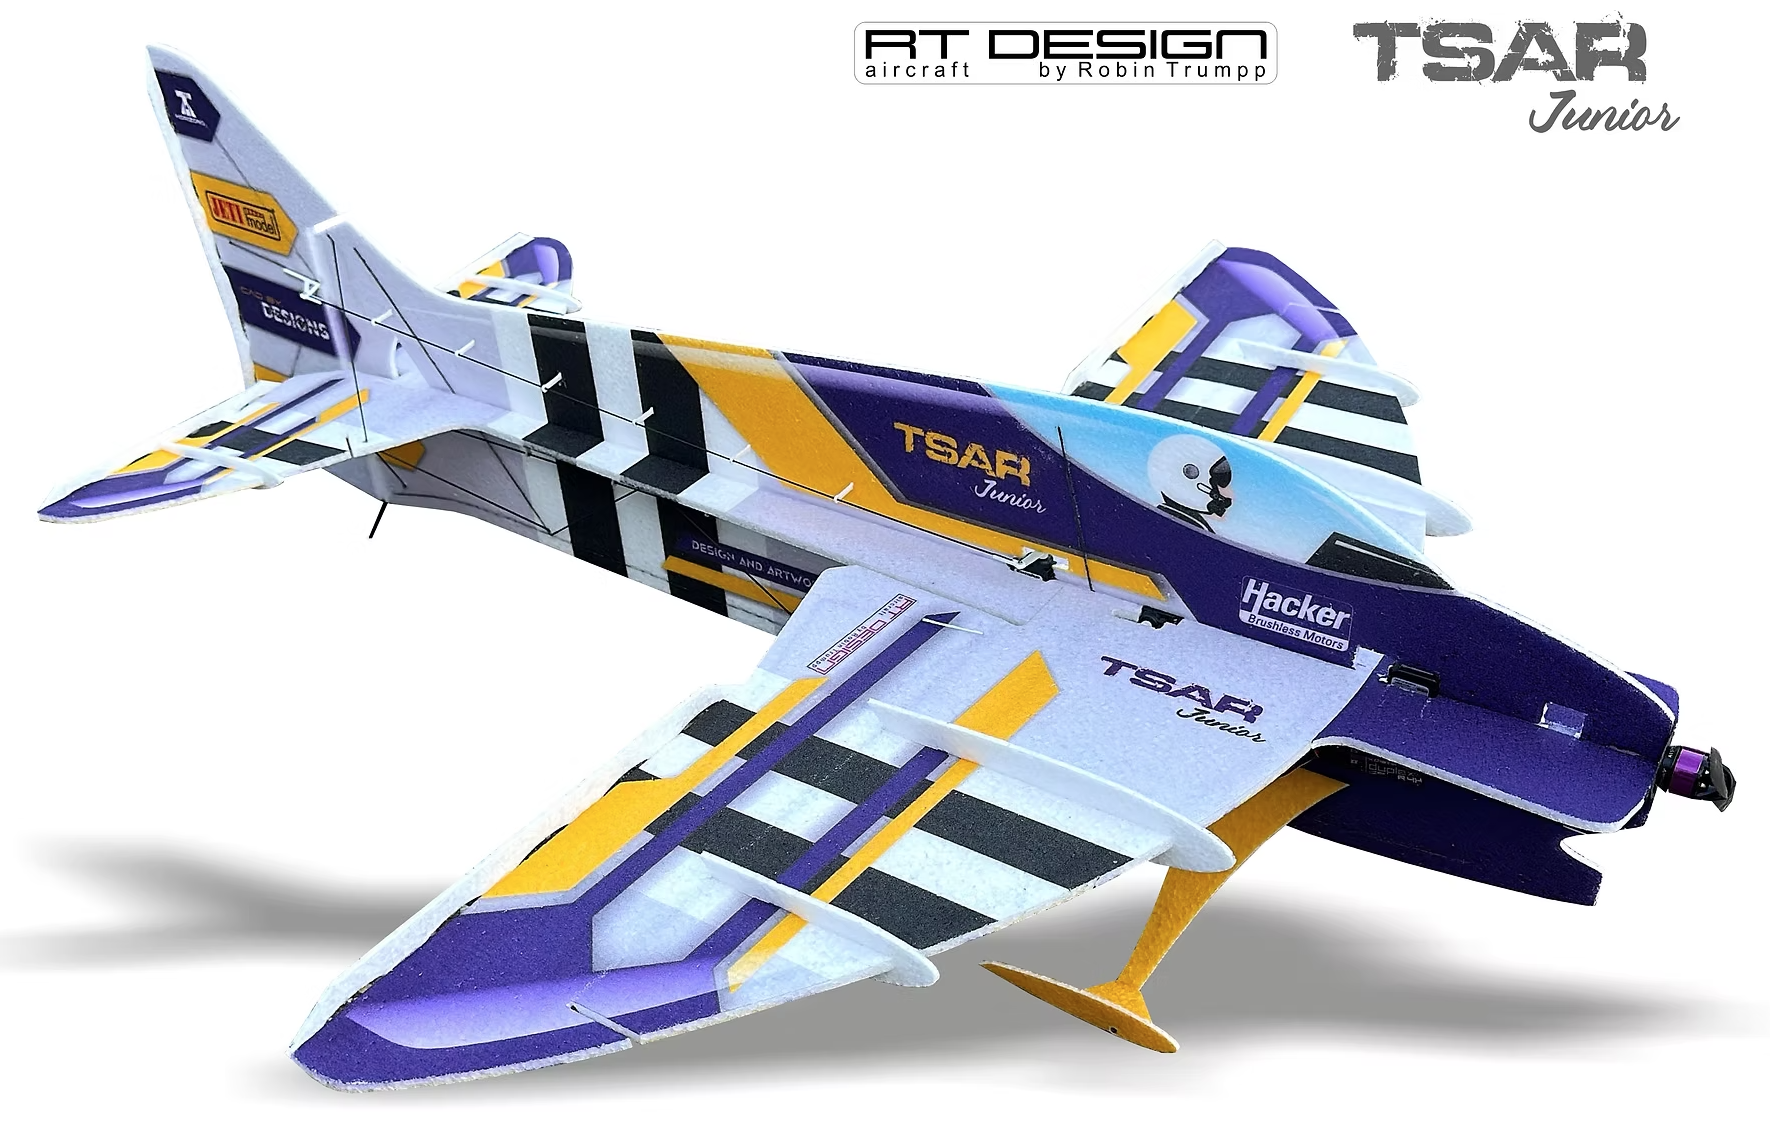
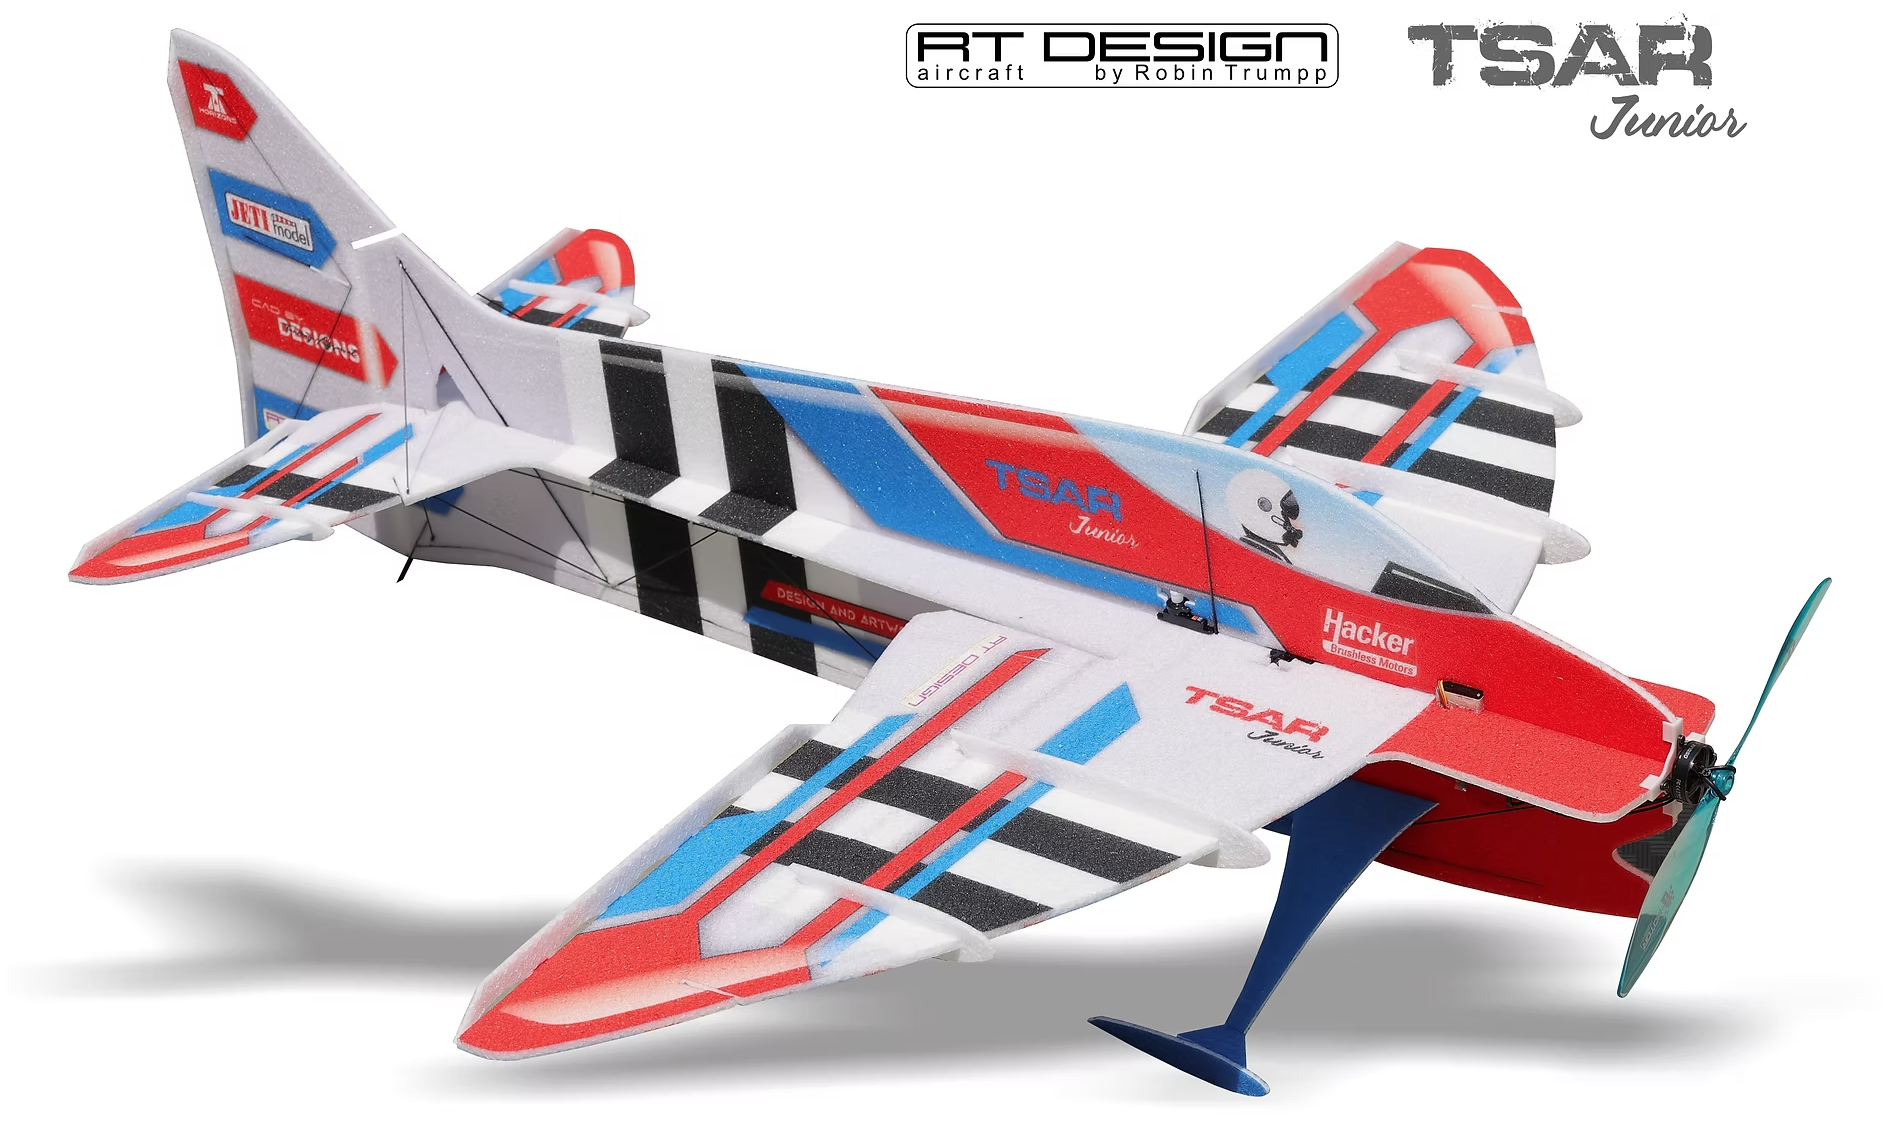
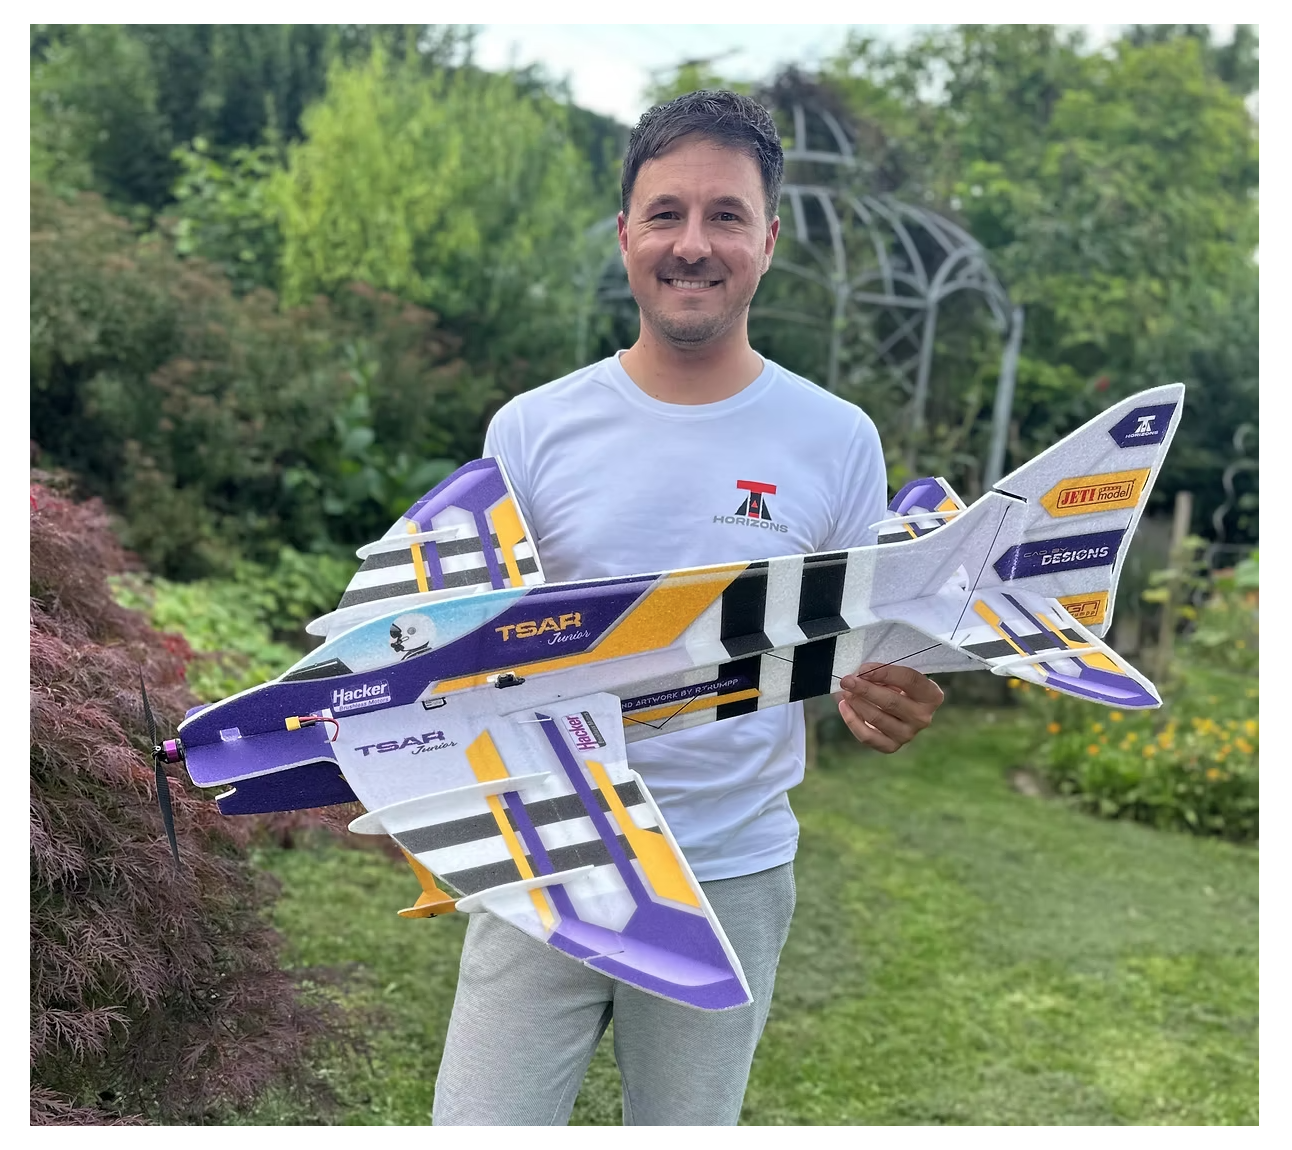
The latest model by TA Horizons from India is called the TSAR Junior and is a joint venture project between TA and me. It’s the “junior version” of my last F3A model, the TSAR, which unfortunately never made it into production.
Even more wonderful that this mini version is now available to everyone. While TA Horizons was developing the model, I was there and provided full support. I played a key role in the design, created both color schemes, and especially worked on the linkage accessories.
The result is a beautifully designed indoor aircraft with the genes of (my) F3A model.
The first kits will soon be available in Europe, but if you don’t want to wait, you can already order directly from TA-Horizons via webshop:
TA-HORIZONS Webshop TSAR Junior
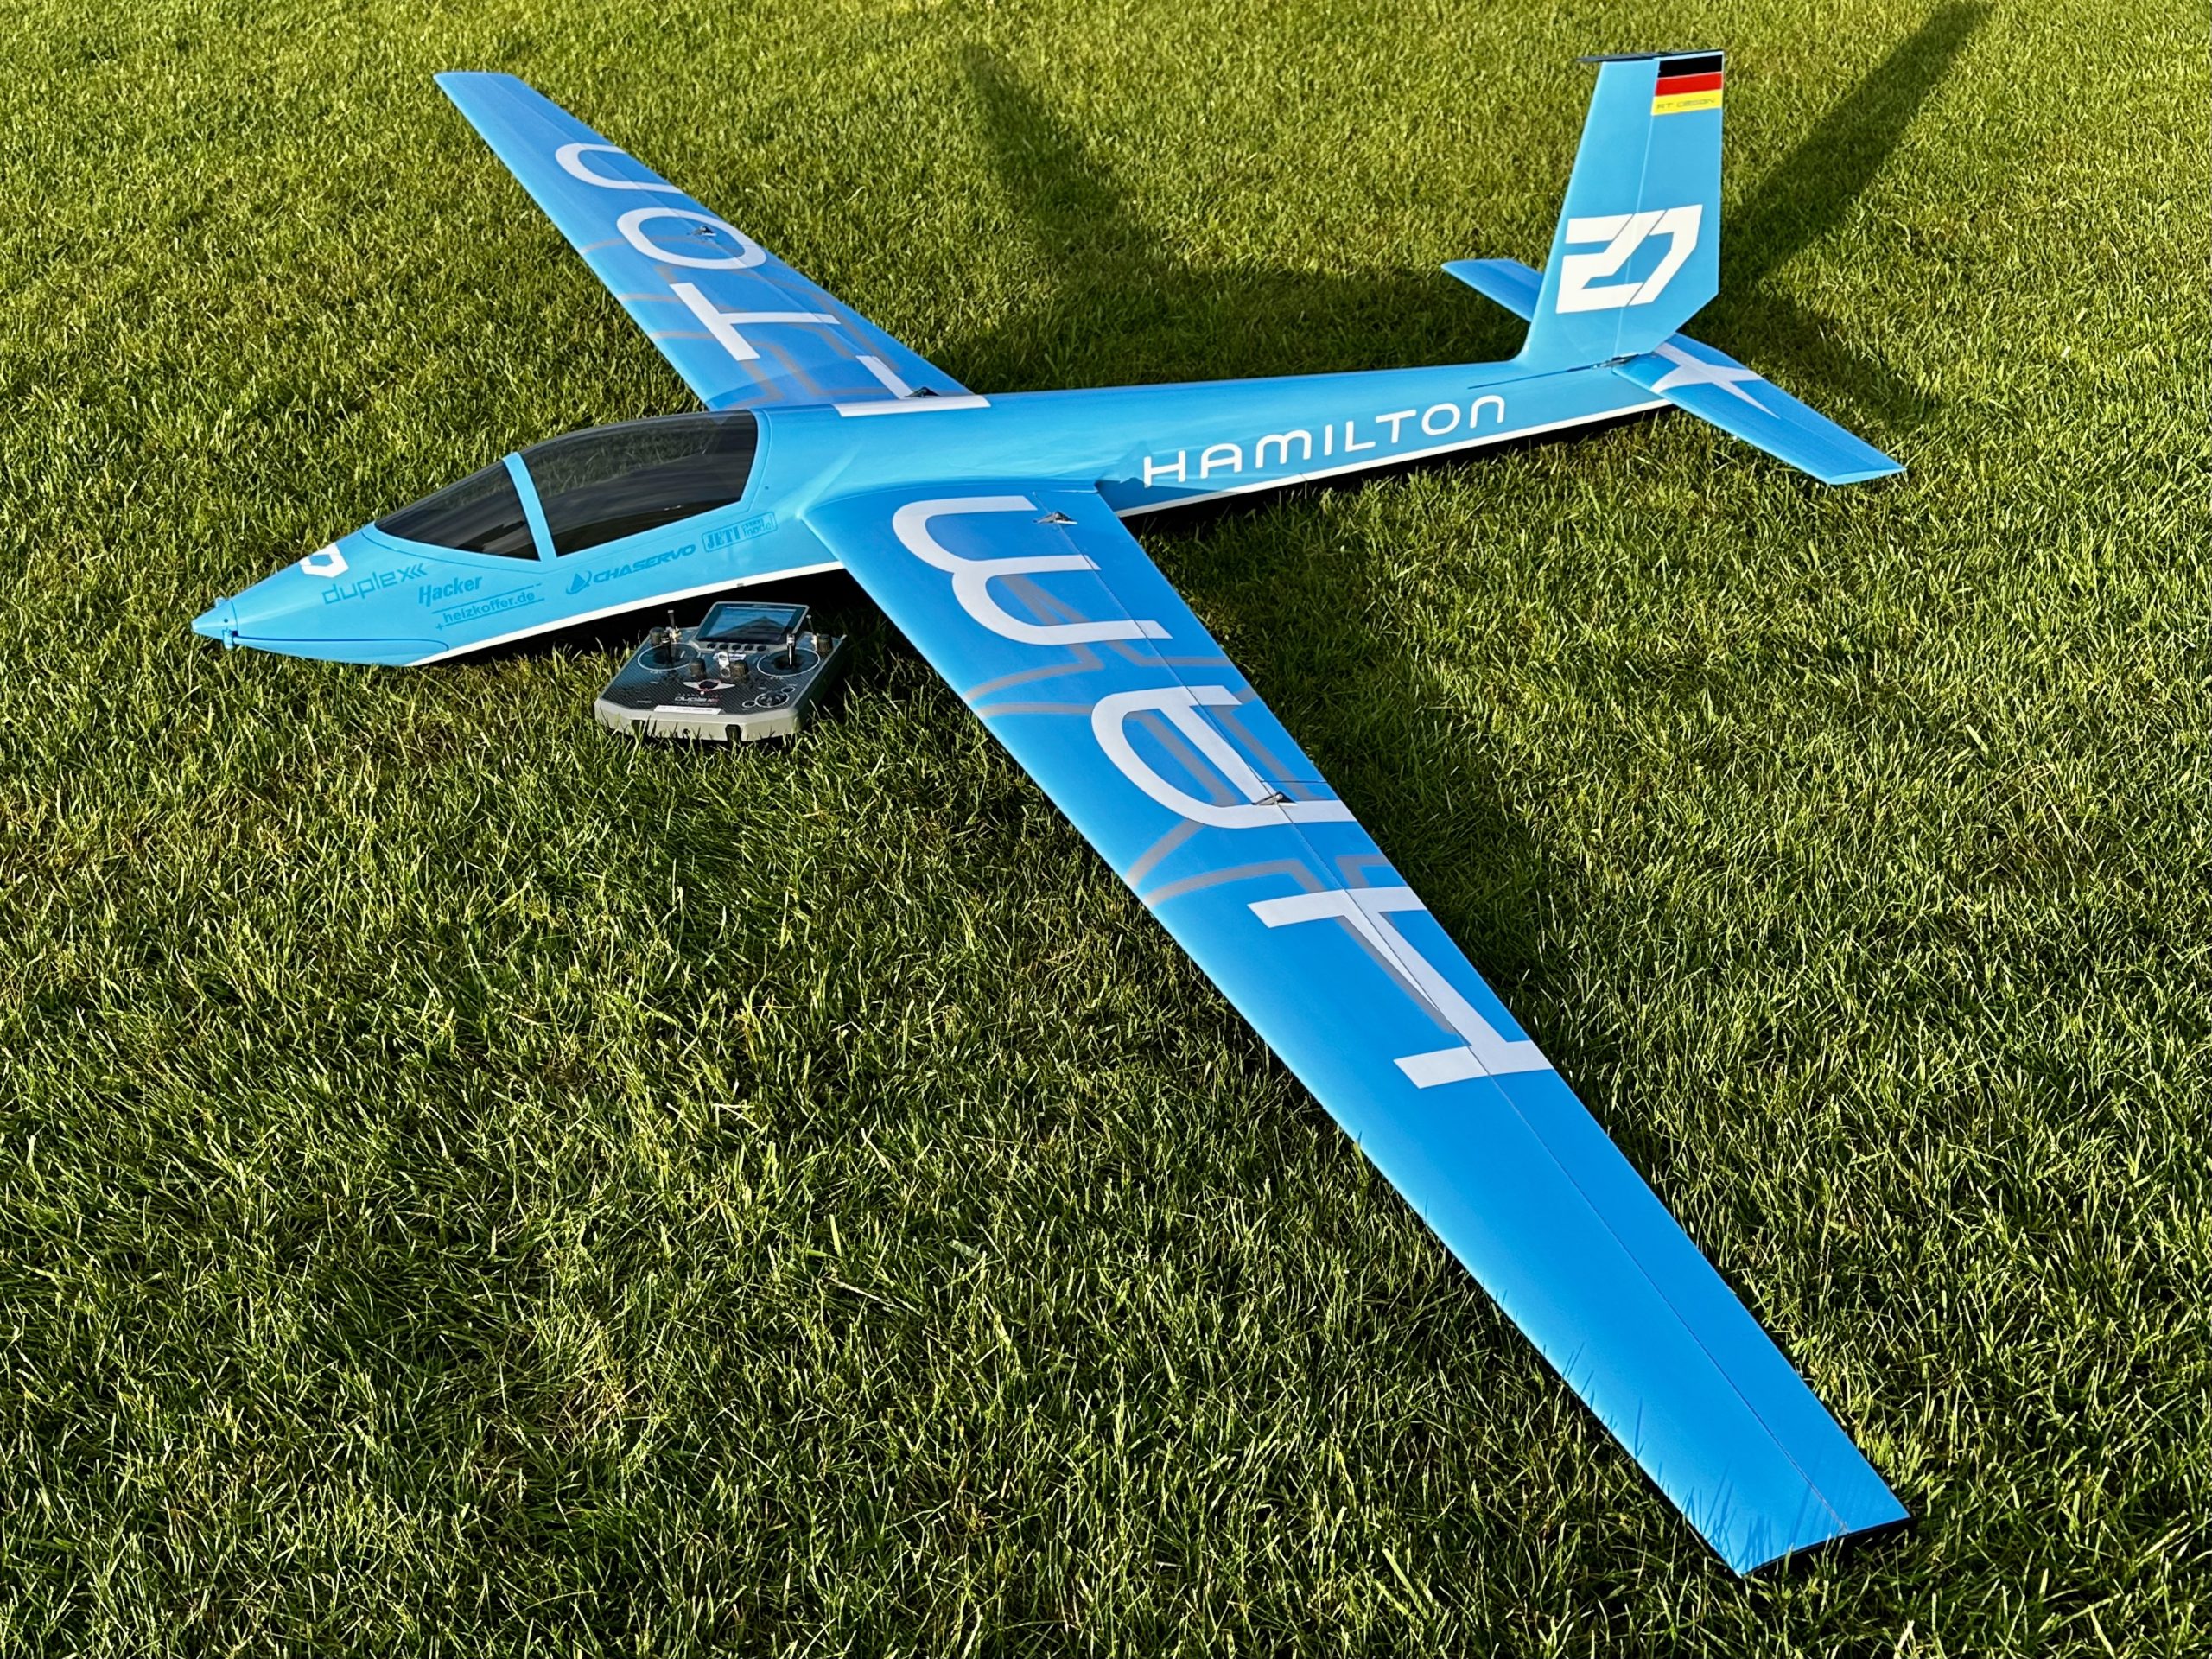
Glider Fair 2024 saturday evening in the Cocktailbar: PS-Models Dominik Lintner, one of the best pilots I know, came to chat about the event, my Bücker, and the gliders by PS-Models. During the day, I’d already been impressed by the planes and the booth with its South Tyrolean specialties, and after a good chat and a few drinks, I ordered the 3m Kobuz in baby blue.
I’ve finally received the glider, assembled it, and flown it a few times. I’m off to the mountains soon for some slope flying, where I hope to do some more testing. First impressions are already very good. The model impresses with its excellent airflow and aerobatic performance, and even in thermals with the wing cambered, the Kobuz performs surprisingly well.
Below are a few words and pictures of the assembly.
The airframe:
The Kobuz is very high quality and has a superb paint job. All accessories are included in the kit, and each construction section is packed in a separate bag. All control horns are factory-glued, and the RC board is made of carbon. It only needs to be glued in place.
As it is usual with models painted in the mold, you’ll need to be careful when clean it with a spirit rag, as the paint rubs off easily and the surface becomes dull relatively quickly. The canopy is already glued at the factory and the frame is painted. For my taste, they could have put a little more effort into it. No expense was spared on the glue, and some dust remained inside the canopy. However, since the interior of the canopy hull is painted a solid black, it’s not so noticeable.
The linkage:
The Kobuz received the proved and very high-quality linkage accessories from heizkoffer.de in combination with all CHA HV-servos. Since the glued-in control horns from PS-Models are slightly wider than standard carbon fiber horns, Thorsten Rauber from heizkoffer.de responded and promptly added perfectly fitting stainless-steel clevises for the PS models to his product range. Thorsten also calculated my linkage geometries for ailerons and flaps based on the glued-in control horns. For those 4 servos he also increased the servo travel using software to achieve the ideal resolution. The original servo covers no longer fit the double servo arm on the servo. A wider hood in the servo cover is required for the double-arm linkage. Heizkoffer.de has also done its homework here and offers its own servo covers, which can be cut to size and thus adapted to many other gliders as well. Painted to match the model’s finish, this is the most elegant and stable solution for this model.
The power unit:
Since I had ordered the spinner and prop from PS-Models painted in model colors, I had to choose a propulsion system based on the propeller size. Uwe Neesen from Hacker Motor took care of this again and tracked down the Hacker C54-2D L for me. I’m familiar with the C54 from my F3A planes and know the forces on the front bulkhead and the motor’s gearbox. Therefore, I also installed the C54’s anodized clamp support on the Kobuz. Simple, fast, and classy!
The ESC is a JETI Mezon 80 EVO with BEC and full telemetry. The integrated BEC outputs 8V to the receiver and servos.
Light system and RC:
Hacker’s ACL-Glider lights are now a must on my glider models because they are perfectly visible even at very high altitudes. They are simply glued to the bottom of the wing, and the cables are fed into the wing through a small hole. For a clean transition between the flashlights and the wing, I always print rings, which are also attached to the underside of the wing with contact adhesive. The lights are powered by a 3S battery, but I simply made an adapter that allows me to tap the voltage same as a 3S battery from my 6S flight battery via the balancer connector.
I use a standard JETI duplex Rex-10 receiver, to which a small JETI capacitor is attached for the return current.
Equipment:
4x CHASERVO HV-150H
2x CHASERVO HV-150
Hacker C54-2D L Glider Competition
JETI Mezon 80 EVO
GM-Prop 16×10
Optotronix ACL-Glider
6S 5000 Hacker ECO-X
JETI duplex REX-10
JETI duplex MVario2
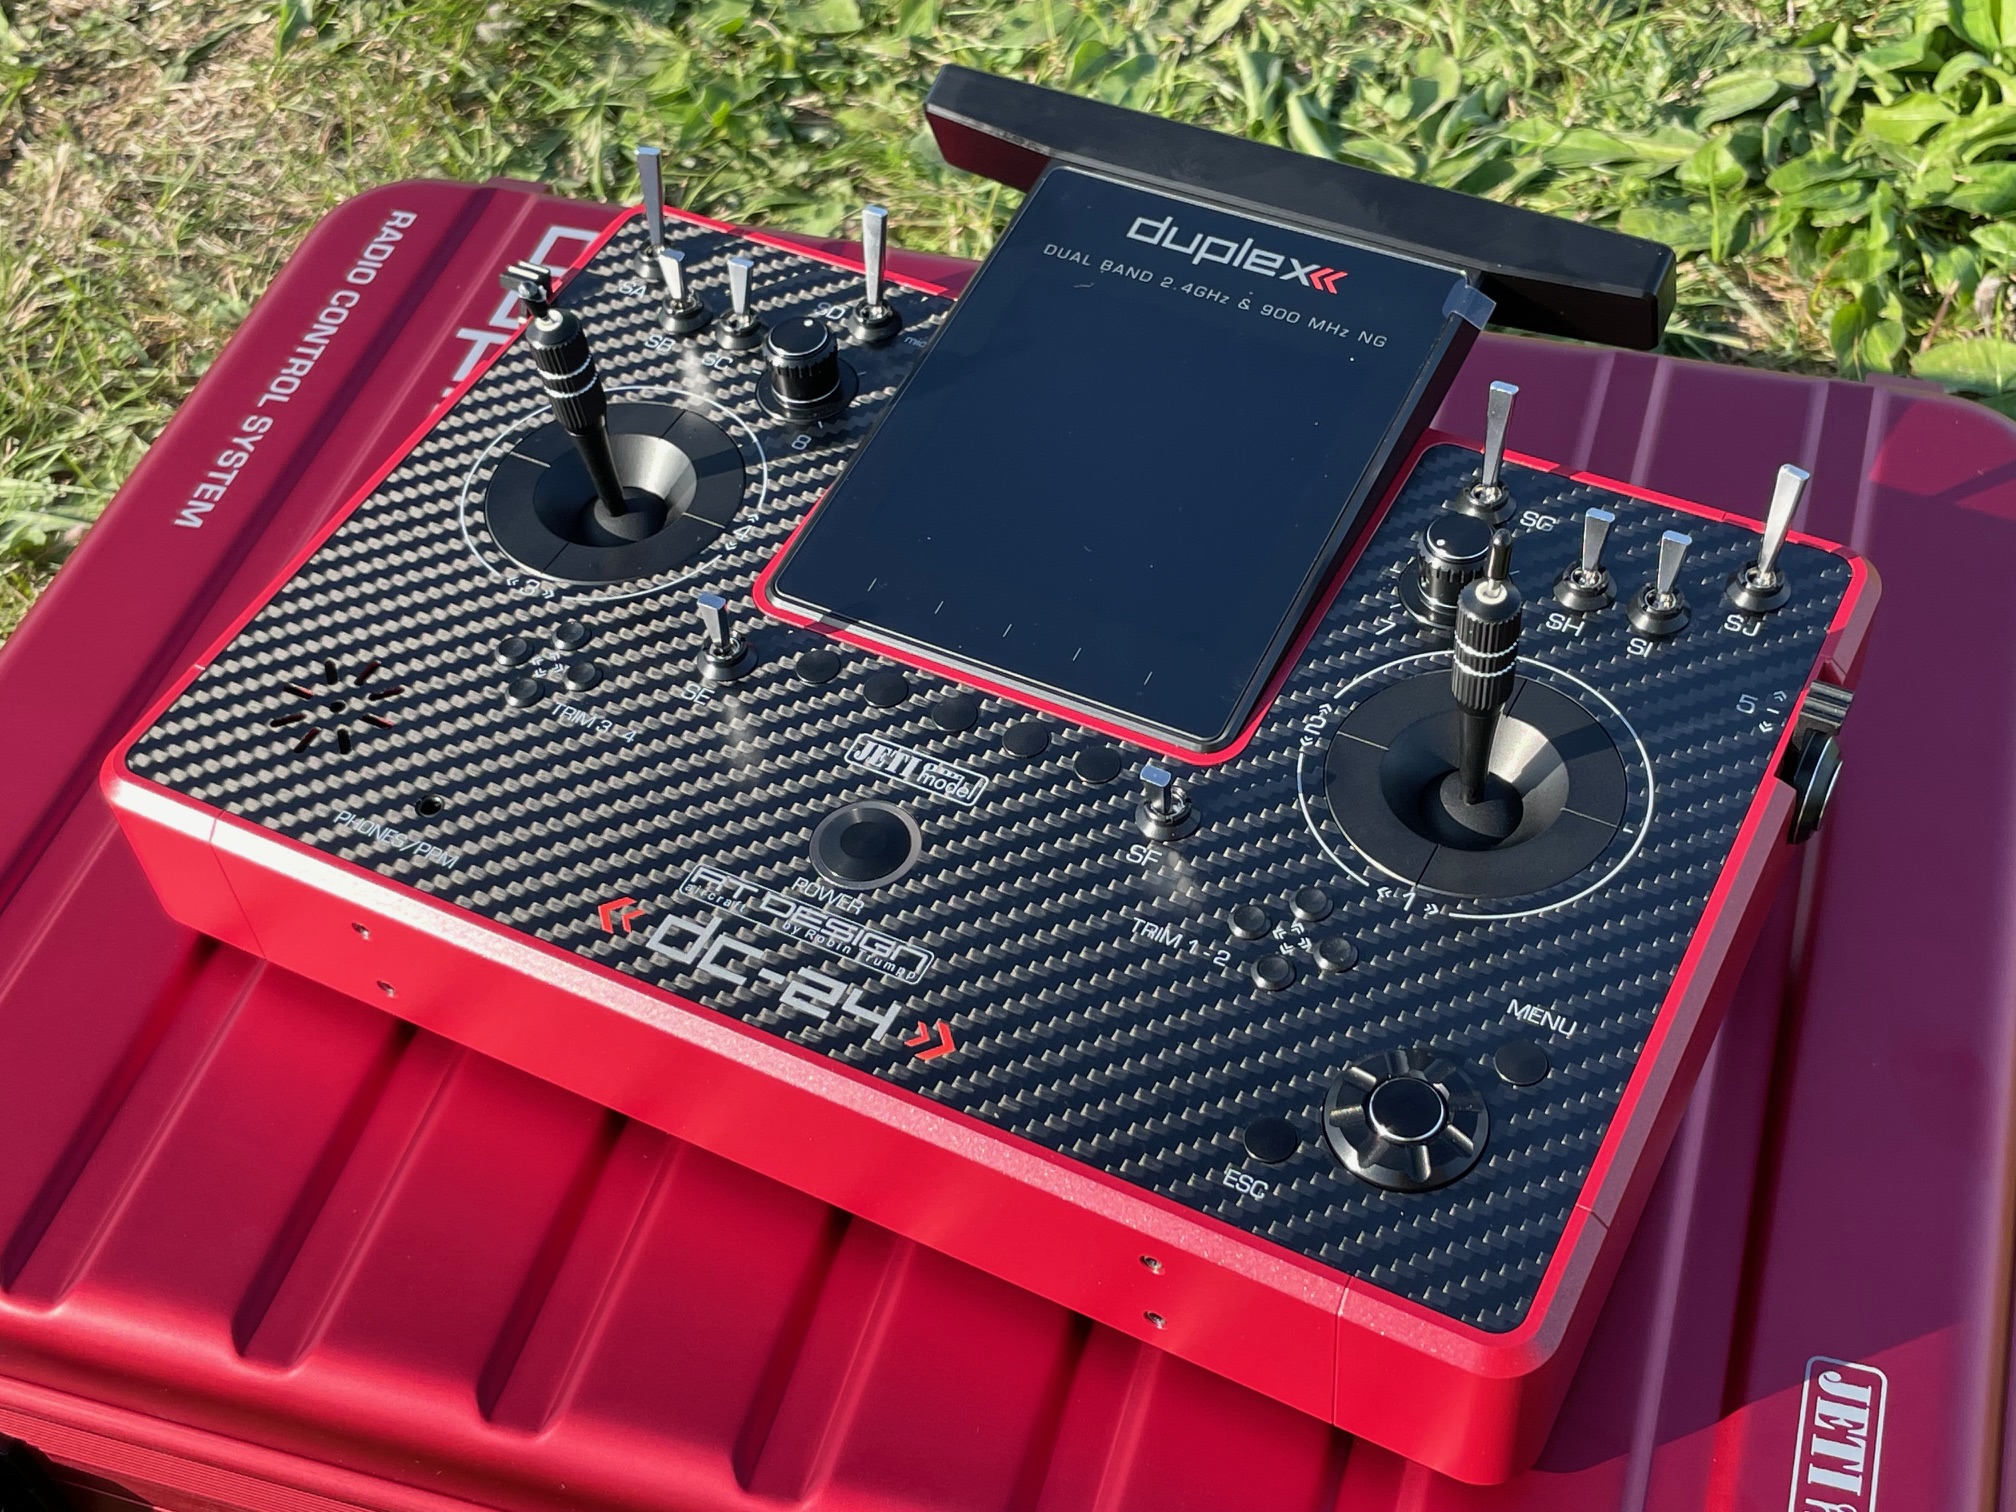
Since the 30th anniversary of JETI in Benesov, CZ in September 2023, I have been the proud owner of the new JETI DC-24 Generation II. I have flown the transmitter for over half a year now and played with it a lot. I would now like to share my experience here and justify it accordingly.
What I particularly like is that it´s not a completely reinvented new transmitter, it is mainly based on the proved and successful JETI DC-24 with the addendum of a few new cool features. The design has remained simple and has only changed slightly due to the larger screen. To make the switch from “old to new DC-24” as easy as possible, JETI has chosen the dimensions of the new transmitter similar to DC-24 I so the transmitter fits in the old tray of DC-24/16/14.
The most noticeable innovation is the larger and, above all, super bright display, which can still be read perfectly even in direct sunlight. However, the transmitter’s battery life also suffers from the super bright display, which is noticeably shorter than that of the DC-24 Gen. I. Club colleagues and friends who have also switched to the DC-24II have one point to complain which is the shortened battery running time before need to recharge. Now you must charge again after roughly half of the battery running time of the old DC-24.
The icons and the design of the menu navigation have also changed slightly, making everything a little more logical and clearer. The individual receivers are shown at the top left corner of the screen, and it is shown whether and which receivers are connected.
Some software news are in progress and currently not available. The transmitter can already do this and will be available with a subsequent software update.
A helpful new feature is the ability to connect the transmitter to a smartphone. Another person has the real-time telemetry data from the flight on their cell phone and can check and monitor all values directly.
Modern wireless headphones can now also be paired with the transmitter. A great solution to give the pilot and the caller each one headphone when practicing aero musical sequences. Or simply listen to the Vario comfortably on the slope.
In addition to all the technical news, the new, red anodized aluminum transmitter case is a real eye-catcher. Although it is only a transport case for the transmitter, it is still a proof that style and design play an important role at JETI model. As beautiful as the case is, the inscription (JETI, duplex…) will probably not last forever and it remains to be seen how quickly the beautiful suitcase will “wear out” during airport and transport use. As an option there is a transmitter case foam insert that neatly centers the transmitter in the transport case.
In my club there are now a few DC-24 IIs, all working great and the trend is towards more DC-24IIs or the soon coming DS-24II.
Summary of what has changed compared to the DC-24 Generation I:
INFO: JETI recommends only using the included USB-C charger to charge the transmitter. And, for example, not to use an inexpensive USB-C charger from the set of a cheap electric toy.